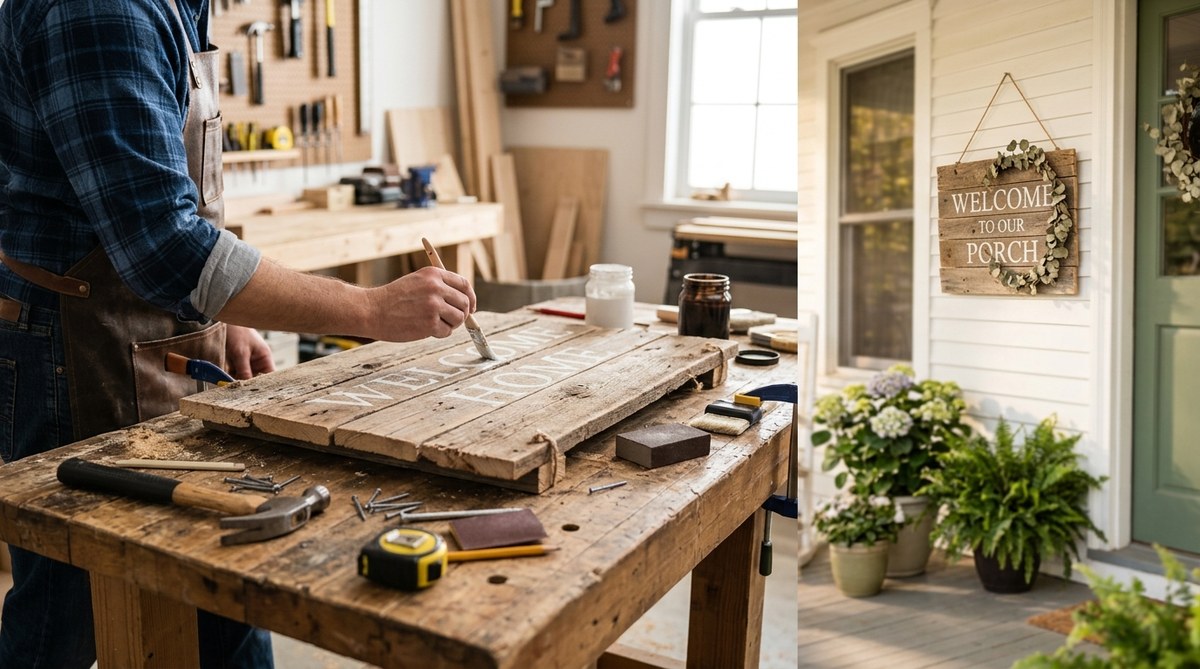
Your front porch is the first thing guests see. It sets the tone for your entire home. A rustic wooden welcome sign does more than just greet people. It adds warmth, personality, and that cozy farmhouse feel so many of us love. The best part? You can build one yourself in a single weekend without any advanced woodworking skills. Whether you are a seasoned DIYer or a complete beginner, this project is straightforward, affordable, and deeply satisfying. By the time Sunday evening rolls around, you will have a beautiful, handcrafted sign that looks like it came from a boutique shop.
Building a DIY rustic wooden welcome sign for your front porch requires just a few basic tools and materials: a wooden board, sandpaper, stain or paint, stencil or vinyl letters, and sealer. The key steps are selecting the right wood, preparing the surface, applying your design, and protecting it from weather. This weekend project costs under $40 and will instantly boost your home’s curb appeal. You can customize it for holidays or keep it timeless. No experience needed.
Why a Rustic Wooden Welcome Sign Belongs on Your Porch
A handmade sign tells visitors you care about the details. It is a small touch that makes a big difference. Rustic wood fits almost any home style, from a modern farmhouse to a traditional colonial. The natural grain and weathered texture of wood add character that metal or plastic signs cannot match. Plus, you control the design. You can choose a simple “Welcome” or add your family name, a favorite quote, or seasonal decorations.
Another reason to build your own? Cost. Pre-made rustic signs at home goods stores can run anywhere from $50 to $150. For a fraction of that, you can create something custom that matches your porch exactly. And there is a real sense of pride every time you walk past it.
Materials and Tools You Will Need
Before you start, gather these supplies. Most items are available at your local hardware store or online.
- Wood board: Pine, cedar, or reclaimed barn wood. A 1×6 or 1×8 board cut to 24 to 36 inches long works well.
- Sandpaper: 120-grit and 220-grit.
- Wood stain or paint: Choose a weathered gray, dark walnut, or whitewash for that rustic look.
- Stencil, vinyl letters, or transfer tape: For your sign message.
- Paint for letters: Acrylic craft paint in a contrasting color.
- Painter’s tape and foam brushes.
- Sealer: Exterior-grade polyurethane or spar urethane.
- Hardware: D-rings, sawtooth hangers, or rope for hanging.
- Optional: Jigsaw or hand saw if you need to cut the board to size.
If you are missing some tools, check out our guide on top 10 essential tools for successful DIY home projects to make sure you have the basics.
Step-by-Step: Building Your DIY Rustic Wooden Welcome Sign
Follow these steps to create a sign that will look great for years.
-
Choose and prepare your wood. Select a board that is straight and free of major cracks. If you want a reclaimed look, you can distress the wood by lightly hammering the edges or scraping it with a screwdriver. Sand the entire surface with 120-grit sandpaper, then finish with 220-grit for a smooth feel. Wipe off dust with a tack cloth.
-
Apply your stain or paint. Using a foam brush or rag, apply an even coat of wood stain. Wipe off excess after a few minutes. For a lighter rustic tone, use a whitewash technique: mix equal parts white paint and water, brush it on, then wipe it off immediately. Let the finish dry completely according to the product instructions.
-
Create your lettering. Center your stencil or vinyl letters on the board. Use painter’s tape to hold the stencil flat. If you are using a stencil, dab a small amount of acrylic paint with a stencil brush, working from the edges inward. For vinyl letters, apply transfer tape, position the letters, and rub firmly. Peel away the transfer tape slowly. (Tip: Use a credit card to smooth out bubbles.)
-
Paint the letters (if using stencil). Allow the first coat to dry, then apply a second coat if needed. Remove the stencil carefully while the paint is still slightly wet to avoid peeling. Touch up any small gaps with a fine brush.
-
Seal the sign. Once all paint is dry, apply two coats of exterior-grade sealer. This step is crucial because your sign will face sun, rain, snow, and humidity. Let each coat dry fully. Lightly sand between coats with 220-grit paper for a smooth finish.
-
Add hanging hardware. Attach D-rings on the back near the top edges, or use a sawtooth hanger centered about one-third down from the top. If you prefer a rustic look, drill two holes near the top corners and thread a piece of rope through them.
-
Display your sign. Hang it on your porch wall, door, or a shepherd’s hook in your garden. Step back and admire your work.
Design Ideas and Stenciling Techniques
Your sign does not have to be limited to “Welcome.” Here are some popular variations:
- Family name: Example: “The Johnson Family, Est. 2010”
- Seasonal messages: “Hello Fall,” “Merry Christmas,” “Happy Summer”
- Inspirational quotes: “Bless This Home” or “Home Sweet Home”
- Interchangeable letters: Use a frame with a channel to swap out wooden blocks with different words.
For the lettering method, you have three main choices:
- Vinyl stencil: Easy, clean lines. Great for beginners.
- Hand painted: More organic, but requires a steady hand.
- Stencil sheets: Reusable, but need careful painting to avoid bleeding.
If you want to learn more about other wall art projects, check out transform your space with simple DIY wall art ideas.
Common Mistakes and How to Avoid Them
Even experienced DIYers can run into trouble. Here is a table of frequent issues and their solutions.
| Mistake | Why It Happens | How to Fix It |
|---|---|---|
| Paint bleeds under stencil | Too much paint or a loose stencil | Use a stencil brush with minimal paint; press down edges with tape |
| Letters are crooked | No guide line or center mark | Draw a light pencil line across the board; measure from edges |
| Stain looks blotchy | Uneven application or unsealed wood | Pre-condition the wood with a wood conditioner; apply stain with a rag in long strokes |
| Sign warps outdoors | Thin wood or no sealer on both sides | Use 3/4-inch thick wood; seal the back as well as the front |
| Vinyl letters peel off | Dust or moisture under the letters | Wipe board with rubbing alcohol before applying vinyl |
Avoiding these pitfalls will save you time and materials. If you prefer to practice on a small project first, try our guide on how to make your own personalized candle holders.
A Pro Tip for Weatherproofing
“The biggest mistake people make is skipping the sealer or using an indoor-only product. For an outdoor sign, always use a spar urethane or marine-grade varnish. It contains UV blockers and flexible resins that expand and contract with temperature changes. Apply at least three thin coats, allowing each to dry for 24 hours if possible.”
–Jenna R., professional woodworker and DIY blogger
This advice alone can double the life of your sign. Do not rush the sealing step, especially if you live in a region with heavy rain or intense sun. A well-sealed sign will look beautiful for years with minimal maintenance.
Personalizing Your Sign for Seasons and Holidays
One of the best features of a DIY sign is that you can update it. Instead of a permanent “Welcome,” consider making the lettering interchangeable. Here is how:
- Build a simple frame with a recessed channel about 1/2 inch deep.
- Cut wooden blocks that fit snugly into the channel.
- Paint or stain each block with a different word or design.
- Swap them out whenever you want a new look.
For example, you could have blocks that say “Welcome,” “Happy Fall,” “Trick or Treat,” “Merry Christmas,” and “Spring Blooms.” Store the unused blocks in a small basket on the porch.
This approach works wonderfully if you enjoy changing decor every season. It also makes a great gift for friends and family. For more ideas on seasonal updates, take a look at 5 trendy DIY projects to try in 2026.
Next Weekend, Make It Happen
You have everything you need to build a DIY rustic wooden welcome sign for your front porch. The materials are affordable, the steps are simple, and the result will make you proud every time you come home. This weekend, set aside a few hours. Gather your wood and paint. Invite a friend or work alone with your favorite playlist. By Sunday evening, you will have a warm, personalized sign that greets everyone with style.
And once you finish this project, you will likely be hungry for more. Why not try your hand at a matching piece for your backyard? A sign that says “The Smiths” for a garden gate or a small herb marker. The skills you learned here will transfer to any wood craft. So pick up your tools, enjoy the process, and make your porch the most welcoming spot on the block.