Creating your own personalized candle holders is a wonderful way to add a warm, unique touch to your home decor or craft thoughtful gifts for loved ones. Whether you’re into DIY projects or just want to try something new, making custom candle holders can be both fun and rewarding. You don’t need fancy tools or expensive supplies. Instead, you can use natural materials and simple techniques to craft beautiful, one-of-a-kind pieces that reflect your style. Let’s walk through how you can create personalized candle holders that stand out.
Making personalized candle holders can be straightforward and fun. Use natural materials like wood, stones, or glass, and add your personal touch with painting, carving, or decorating. This approach is budget-friendly and perfect for creating custom decor or gifts that truly stand out.
Gathering Your Supplies and Planning Your Design
Before jumping into making your personalized candle holder, gather your materials. Keep things simple by choosing natural, inexpensive items. Think about what style you want to achieve. Do you prefer rustic, modern, or whimsical? Planning your design ahead helps make the process smooth. Sketch out ideas or gather inspiration from magazines or online craft pages.
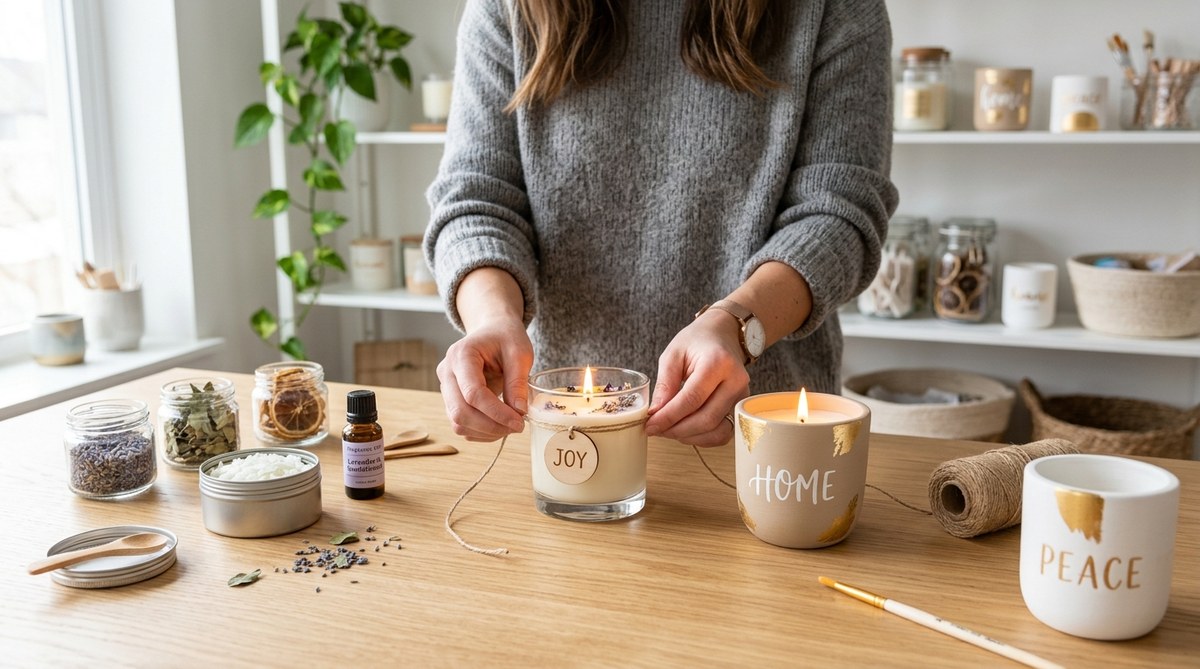
Essential supplies for natural candle holders include:
- Wooden pieces or blocks
- Smooth stones or pebbles
- Clear glass jars or votives
- Natural twine, jute, or hemp cords
- Paints suitable for glass or wood
- Carving tools or craft knives
- Glue or adhesive suitable for your materials
- Decorations like dried flowers, leaves, or herbs
Step-by-Step Guide to Making Personalized Candle Holders
Follow these simple steps to create your own unique candle holder. The process is easy to customize based on your style and materials.
1. Choose your base and design
Select the material you want to use as the foundation for your candle holder. It could be a wooden block, a glass jar, or a flat stone. Decide how you want to personalize it. Do you want to paint a message, carve a pattern, or decorate with natural elements?
2. Prepare your materials
Clean your base thoroughly. For wood, sand rough edges for a smooth finish. For glass, wash and dry to ensure paint or decorations adhere properly.
3. Add your personal touch
- If painting, use natural or acrylic paints to create designs or write words. You can paint motifs like leaves, flowers, or geometric patterns.
- For carving, gently etch patterns or initials using craft knives or carving tools.
- Wrap twine or hemp around the base for a rustic look. Secure with glue if needed.
- Glue dried flowers, herbs, or small stones to add texture and natural beauty.
4. Finish and seal
Once your decoration is complete, consider sealing your work with a clear, non-toxic sealant to protect it from dust and moisture. For painted pieces, a sealing spray helps keep the design vibrant.
5. Insert your candle
Place a tea light, votive, or pillar candle into the holder. Ensure it fits snugly and safely. Always follow safety guidelines for candle use.
Creative Ideas for Personalizing Your Candle Holders
Personalization is all about reflecting your style or the recipient’s personality. Here are some ideas:
- Use natural dyes or stains to tint wood or glass for a subtle color.
- Paint or carve meaningful symbols, initials, or dates.
- Attach dried flowers or herbs for a fragrant touch.
- Wrap with natural fibers, adding charms or beads.
- Incorporate stones or pebbles for a beachy or earthy vibe.
Expert tip: When decorating glass, use paint designed specifically for glass surfaces. This ensures your designs stay vibrant over time and resist fading.
Common Techniques and How to Avoid Mistakes
| Technique | What to Do | Common Mistake to Avoid |
|---|---|---|
| Painting on glass | Use glass-specific paints, apply thin coats | Applying thick paint that drips or peels |
| Carving wood or stone | Use sharp tools, work slowly and carefully | Rushing can cause cracks or uneven patterns |
| Wrapping with twine | Secure with hot glue or strong adhesive | Wrapping too tightly can damage the material |
| Gluing decorations | Use clear, waterproof glue | Using the wrong adhesive for material |
Expert Advice for Perfect Results
“Take your time with decorating. Natural materials may have imperfections, and that’s part of their charm. Embrace the rustic look and let your creativity shine through.”
Making It Personal and Practical
Adding your own personal touches to a candle holder makes it special. Whether you choose simple painted initials, carved patterns, or natural embellishments, your project becomes a reflection of your style. These handmade holders are perfect for cozy nights, romantic dinners, or as heartfelt gifts for friends and family.
Remember, natural materials age beautifully. Wooden holders may develop a lovely patina over time, and dried flowers add a long-lasting decorative element. Keep safety in mind when placing candles. Never leave burning candles unattended, and ensure your holder is stable and heat resistant.
Your Creative Candle Making Journey
Now that you know how to make personalized candle holders naturally, it’s time to gather your supplies and start creating. Pick a design that excites you, and don’t be afraid to experiment. Each piece will be unique and meaningful. Crafting personalized candle holders is a wonderful way to add warmth and personality to your space or to give a thoughtful gift that will be cherished.
Enjoy the process, and let your imagination guide you to beautiful, one-of-a-kind creations. Happy crafting!