
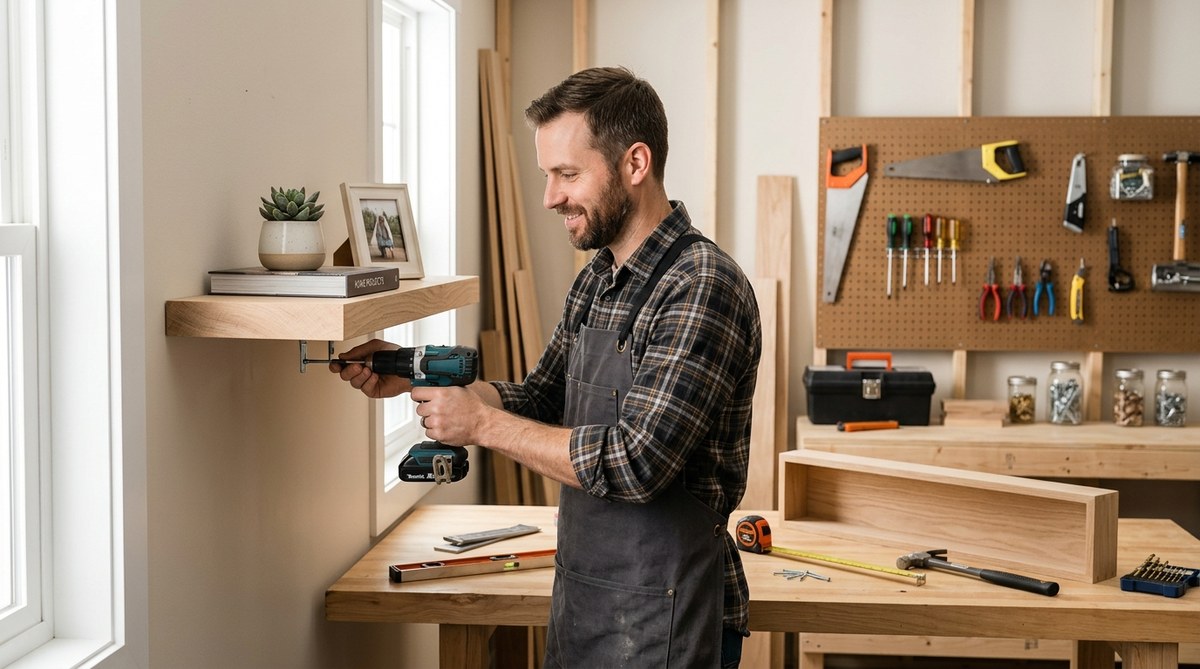
You walk into your living room and see that blank wall. A floating shelf would look great there, but the idea of a weekend project with complex cuts and expensive tools sounds exhausting. You have half an hour. Maybe while dinner cooks or during a lunch break. The good news? You can build a sturdy floating shelf in exactly 30 minutes, without touching a table saw or mixing anything more complicated than wood glue. This shortcut uses a clever trick that skips the heavy lifting while still giving you a professional result. I have tested this method multiple times, and it works every time for a basic shelf that holds up to 15 pounds of decor, books, or plants.
You can build a floating shelf from scratch in 30 minutes using a pre-made shelf board, a heavy-duty bracket system, and a simple no-cut cleat method. No power tools are required beyond a drill and a level. The secret is skipping the traditional hollow box build and instead using a bracket that hides inside the shelf. Total cost is under $25. With minimal mess and no woodworking experience, you get a finished shelf ready for install today.
Why the 30 Minute Floating Shelf Works
Most floating shelf tutorials online show you how to build a hollow box with internal supports. That method takes hours. You need to cut dados, glue panels, clamp everything overnight, and then mount it with hidden metal rods. It looks beautiful, but it is not a 30 minute project.
The shortcut uses a different approach. You buy a solid wood shelf board pre-cut to your desired length. Then you attach a reinforced steel bracket that sits flush inside a routed channel on the back of the shelf. The bracket anchors to wall studs or drywall with heavy-duty toggle bolts. When you slide the shelf onto the bracket, it locks into place and appears to float. No visible hardware.
This method has three main advantages for a time-constrained DIYer:
– No woodworking skills needed.
– No complex measuring beyond a tape and level.
– No waiting for glue or paint to dry if you use a pre-finished board.
As one professional carpenter told me, “The fastest floating shelf is the one you buy pre-cut and mount with a hidden bracket. You are not cheating. You are working smarter.”
Materials and Tools You Need
Gather these items before you start. Most are available at any home center or online.
Materials (under $25 total)
- A solid wood shelf board (pine or poplar, 3/4 inch thick, 8 to 10 inches deep, cut to length by the store). Ask for a straight piece with no warps.
- A heavy-duty floating shelf bracket kit. Look for one rated for at least 20 pounds and adjustable for depth. The kit includes the bracket, mounting screws, and wall anchors.
- Wall anchors (if you cannot hit a stud). Use toggle bolts that support weight. Do not use plastic expansion anchors for a shelf you intend to load.
- Wood glue (optional but recommended for extra bond between bracket and shelf).
- Painter’s tape (to mark positions and protect the shelf).
Tools
- Drill with drill bits and a Phillips head bit.
- Tape measure.
- Level (a 2-foot level is enough).
- Pencil for marking.
- Stud finder (optional but helpful, or use the knock test).
- Safety glasses (always wear them when drilling).
That is it. No saw, no sander, no router.
Step by Step: Build Your Floating Shelf in 30 Minutes
Follow these steps in order. Each step is designed to take no more than 5 minutes. Set a timer if you want.
Step 1. Locate Wall Studs or Prepare for Anchors (3 minutes)
Use a stud finder or knock on the wall. Mark both stud edges with a pencil lightly. For a shelf up to 36 inches wide, you want at least two anchor points. If you cannot hit studs, use toggle bolts. Drill pilot holes for the toggle bolts first. Mark the wall at your desired height. Use a level to draw a straight horizontal line.
Step 2. Measure and Mark the Bracket Position (2 minutes)
Most bracket kits come with a paper template. Place the template on the shelf back, centered. Mark the screw holes. If your shelf is shorter than the bracket length, center the bracket. Transfer those marks to the wall using the level.
Step 3. Mount the Bracket to the Wall (5 minutes)
Drill holes at the wall marks. Insert wall anchors if needed. Using the provided screws, attach the bracket to the wall. Tighten firmly but do not strip the screw head. Confirm the bracket is level after mounting. If it tilts, adjust by loosening one screw and shimming with a thin piece of cardboard behind the bracket.
Step 4. Attach the Bracket to the Shelf (5 minutes)
Apply a thin bead of wood glue along the bracket channel on the shelf back. Slide the shelf onto the bracket. Use the screws provided to secure the shelf from underneath. Some brackets use small set screws that are invisible once installed. Tighten until flush.
Step 5. Check Alignment and Level (3 minutes)
Place a level on top of the shelf. Adjust by tapping the shelf ends with your hand. If the level shows a bubble off center, loosen the set screws slightly, readjust, and tighten again. This step takes less than a minute if you mount the bracket level from step 3.
Step 6. Final Push and Test (2 minutes)
Press the shelf firmly onto the bracket to seat the channel completely. Give a gentle pull to confirm it does not wobble. Now you have a floating shelf.
Total time: about 20 minutes if you are steady. The remaining 10 minutes are for cleanup and admiring your work.
Common Mistakes and How to Avoid Them
Even with a shortcut, some pitfalls can ruin the look. Use this table to steer clear of them.
| Mistake | What Happens | How to Fix It |
|---|---|---|
| Skipping the stud finder | Shelf may pull out of drywall. | Use toggle bolts rated for 50+ lbs. |
| Bracket not level | Shelf looks tilted and items slide off. | Use a level at every mounting step. |
| Using a board that is too thin | Shelf bows under weight. | Choose at least 3/4 inch thick solid wood. |
| Rushing the glue step | Shelf may rattle or shift. | Let wood glue cure for 10 minutes before loading. |
| Forgetting to pre-drill for screws | Wood splits near the channel. | Always pre-drill with a bit slightly smaller than the screw diameter. |
What to Avoid When Choosing Your Bracket
Not all floating shelf brackets are created equal. Here is what to look for.
- Choose a bracket with a continuous channel. Some brackets use individual pins. Pins are harder to align and may not hold a thick board securely. A channel bracket wraps around the entire depth of the shelf.
- Avoid brackets made of thin stamped metal. They can bend. Look for brackets made of 1/8 inch thick steel.
- Pick a bracket that matches your shelf depth. The bracket should sit at least 1 inch from the front edge of the shelf for a true floating look.
- Do not buy a bracket rated for less than 20 pounds. The bracket itself might be fine, but the anchor points matter more.
Ideas for Finishing Your Shelf
The beauty of this method is that you can finish the shelf in any style you like, but you need to complete the finish before mounting. Because you are using a pre-cut board, you can stain, paint, or seal it in advance. Here are three options that take under 15 minutes each.
- Apply a coat of wood conditioner and then a stain. Wipe off excess after 5 minutes. Let dry for an hour. This is the lowest effort finish.
- Use a polyurethane spray can. Two light coats with 10 minutes drying time between them. This seals the wood and adds a subtle sheen.
- Wrap the board in a peel-and-stick wood veneer for a different look. Cut the veneer slightly larger, press it on, trim the edges with a utility knife.
If you are truly in a time crunch, skip the finish for now. Install the raw wood shelf, then apply a finish later when you have more time. Raw wood will collect dust and may stain, but it is better than never building the shelf.
Related to this, if you want to transform your space with simple DIY wall art ideas, a floating shelf is the perfect foundation for displaying frames and canvases.
Blockquote: Pro Advice from a Builder
“The biggest lie in DIY is that you need a workshop to build furniture. A floating shelf made with a pre-cut board and a good bracket will hold as much as a custom piece. The key is buying quality hardware, not spending hours on joinery. Spend the extra $2 on a bracket that is thick and has a full channel. It saves you frustration.”
— Jake R., residential carpenter with 15 years of experience.
What Happens When You Have a Little More Time?
The 30 minute method is a gateway. Once you see how easy it is, you might want to tackle more ambitious projects. Consider expanding your skills with a how to build a custom bookshelf without professional help guide. The same principles apply: use pre-cut materials and smart brackets.
If you are planning more shelves, invest in a quality drill and level. Those are the only tools you will need repeatedly. For a list of gear that makes any DIY job smoother, check out top 10 essential tools for successful DIY home projects. A good drill driver alone can cut your time in half on your next shelf.
Adapting the Method for Different Rooms
The same 30 minute process works in any room with a wall. Here are specific tips for common spaces.
- Kitchen: Use a shelf board that is at least 10 inches deep to hold spices and oil bottles. Seal the wood with a food-safe mineral oil or a polyurethane. Avoid placing the shelf directly above a stove.
- Bathroom: Moisture is a problem. Use a paint-grade board and apply three coats of semi-gloss paint. Install the shelf away from the shower spray. A floating shelf in a bathroom is great for rolled towels and small plants.
- Home office: Place the shelf above your monitor to hold notebooks and a small lamp. Keep the depth under 8 inches so it does not hit your head. This shelf can be mounted at eye level.
- Kids’ room: Use a lower height and a wider shelf for toy boxes. Anchor into studs since children may pull on it. Sand any sharp edges.
For more ideas on organizing specific areas, see easy DIY storage solutions for small spaces. Floating shelves shine in apartments where floor space is limited.
Troubleshooting Common Issues
Even with a straightforward method, small problems can occur. Here is how to handle them.
- The shelf wobbles after installation. Check if the bracket screws are tight. If they are, the shelf channel might be slightly oversized. Add a shim of wood veneer between the bracket and the shelf channel. Push the shelf on. The wobble disappears.
- The shelf slides off the bracket. The set screws were not tightened enough. Locate the set screw hole (it is usually on the bottom of the shelf). Tighten with an Allen key or screwdriver.
- The bracket is visible at the front. Your shelf is too shallow. Buy a deeper board or reposition the bracket farther back. A good rule: the bracket should sit 1.5 inches from the front edge.
- The paint or stain looks uneven on the shelf. Sand the board lightly with 220-grit sandpaper before applying a finish. Wipe with a tack cloth. Apply thin coats.
If you want to try a completely different style, such as how to create a stunning accent wall with reclaimed wood, a floating shelf made from the same reclaimed wood ties the room together.
Your 30 Minute Shelf Is Ready for Display
You now have a functional floating shelf that looks like it took a whole weekend to build. The secret was using the right bracket and a pre-cut board, not cutting corners on safety or quality. Enjoy the extra wall space. Arrange your favorite items on the shelf. Share a photo with your friends. If they ask how you did it so fast, tell them the trick. Then help them build their own.
You have proven that DIY does not have to be a time sink. With the right method, a 30 minute floating shelf is within anyone’s reach. Next time you see a blank wall, you know exactly what to do.