
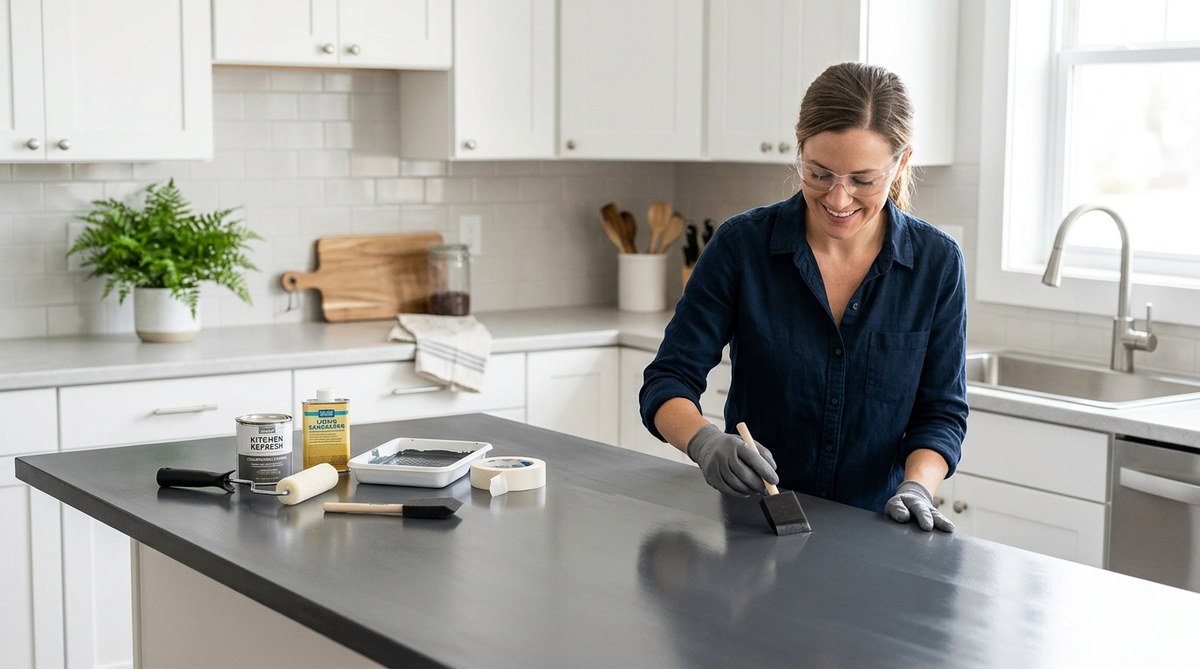
Your kitchen countertops have seen better days. The laminate is still solid, but the pattern feels dated and the edges are starting to look tired. A full replacement would cost thousands. That is not an option right now. The good news is you can refinish laminate countertop surfaces for less than what you would spend on a nice dinner out. This guide walks you through the entire process so you can get a fresh look without the high price tag.
Refinishing laminate countertops is possible with the right preparation and materials. You need quality bonding primer, durable paint or a countertop coating kit, and a strong topcoat. The total cost stays under $100 if you already own basic tools like sandpaper, painter’s tape, and a roller. Proper cleaning and light sanding are the most important steps for long-lasting results.
What You Need to Get Started
Before you start, gather your supplies. The key to a successful refinish is using products designed to stick to slick laminate surfaces. Regular wall paint will peel. Here is what you need.
- Bonding primer (look for one made for laminate or glossy surfaces)
- Countertop paint or epoxy coating kit (water-based options are easier to work with)
- High-density foam roller (leaves a smooth finish)
- Sanding block and fine-grit sandpaper (220 grit works well)
- Painter’s tape and plastic sheeting
- Trisodium phosphate (TSP) or a strong degreaser
- Drop cloths and gloves
- Clear acrylic topcoat (optional but recommended for extra durability)
Total cost for these materials runs between $60 and $90 depending on your local store. If you already have some of the basics, you will stay well under $100.
Step-by-Step Guide to Refinishing Laminate Countertops
Follow these steps in order. Skipping the prep work is the number one reason refinishing projects fail. Take your time on the cleaning and sanding stages.
1. Clean and Degrease the Surface
Laminate countertops collect grease and grime, especially near the stove. Mix TSP with warm water according to the package directions. Scrub the entire surface with a sponge. Rinse thoroughly with clean water and let it dry completely. Any leftover grease will prevent the primer from bonding.
2. Lightly Sand the Laminate
Laminate is smooth and non-porous. Paint needs something to grip. Use your fine-grit sandpaper to lightly scuff the entire surface. Do not sand aggressively. You just want to remove the gloss. Wipe away all dust with a tack cloth or a damp rag. Let the surface dry again.
3. Tape and Protect Everything
Use painter’s tape to cover the backsplash, the sink edges, and any appliances that touch the countertop. Lay down drop cloths on the floor and countertop surfaces you are not painting. Cover the faucet with a plastic bag. This step saves you from cleanup headaches later.
4. Apply the Bonding Primer
Pour the bonding primer into a paint tray. Use your foam roller to apply a thin, even coat. Work in small sections. Avoid overloading the roller. Let the primer dry according to the manufacturer’s instructions. Most bonding primers need at least two hours before you can apply the next coat.
5. Paint or Coat the Countertops
Now you apply the actual finish. If you are using countertop paint, roll it on in thin coats. Two to three coats usually give full coverage. Wait the recommended time between each coat. If you are using a countertop coating kit with epoxy, mix the two parts carefully and apply the mixture within the working time window. Epoxy levels itself out nicely but you need to work fast.
6. Add a Protective Topcoat
Once the color coat is fully dry, apply a clear acrylic topcoat. This extra layer protects against scratches, heat, and moisture. Use a clean foam roller for a smooth finish. Two thin coats are better than one thick coat. Let the topcoat cure for at least 24 hours before you place anything on the counter.
7. Let It Cure Fully
This is the hardest part. The paint may feel dry to the touch in a few hours, but it is not fully cured. Wait at least 72 hours before using the countertops normally. Avoid setting hot pans or wet dishes on the surface during this time. Patience here makes the difference between a finish that lasts years and one that fails in weeks.
Common Mistakes and How to Avoid Them
Even experienced DIYers make errors when they refinish laminate countertops. Here are the most common problems and the simple fixes.
| Mistake | Why It Happens | How to Fix It |
|---|---|---|
| Paint peeling after a few weeks | Surface was not cleaned or sanded properly | Strip the paint and start over with proper prep |
| Brush marks and streaks | Using a brush instead of a foam roller | Sand lightly and apply a final coat with a foam roller |
| Bubbles in the finish | Rolling too fast or using a cheap roller | Pop bubbles with a pin and smooth with a clean roller |
| Yellowing over time | Using oil-based paint without a topcoat | Switch to water-based products and seal with acrylic |
| Chipping near the sink | Moisture got under the paint | Seal the edges with extra topcoat and keep them dry |
“The biggest mistake people make is thinking they can skip the sanding step. Laminate is designed to repel water and stains. Without scuffing that surface, your paint has nothing to hold onto.” * This advice comes from years of real-world DIY experience shared in home improvement forums.
When to Refinish and When to Replace
Refinishing works great for cosmetic updates. If your countertops are structurally sound but the color or pattern feels outdated, go ahead and paint them. This is also a smart option if you are renting and want to improve the space without spending a lot.
You should consider replacement instead if the laminate is bubbling, delaminating, or has water damage near the sink. Paint cannot fix soft spots or swollen particle board. In those cases, saving your money for a new countertop is the better move.
Refinishing is also a good choice if you plan to sell your home in the next few years. A fresh coat of paint makes the kitchen look updated without the expense of new counters. Buyers notice clean, modern surfaces.
How to Make Your Refinished Countertops Last
Your refinished countertops will hold up well if you treat them with care. Here are a few habits that help extend the life of your work.
- Use cutting boards every time. Knives will scratch the paint.
- Place hot pans on trivets. The topcoat protects against heat, but it is not heatproof.
- Wipe up spills right away. Coffee, wine, and acidic foods can stain if left too long.
- Clean with mild soap and water. Avoid abrasive scrubbers and harsh chemicals.
- Reseal the topcoat every year or two. A fresh coat of acrylic keeps the surface protected.
A Final Word on Your Budget Makeover
Refinishing your laminate countertops is one of the most satisfying DIY projects you can tackle. The cost is low. The transformation is dramatic. And the sense of pride when you show off your updated kitchen is real. You do not need to be a professional to get professional results. You just need the right materials, a little patience, and a willingness to follow the steps.
If you are looking for more ways to update your home on a budget, check out this guide on transform your space with simple DIY wall art ideas. Small changes add up to a home that feels fresh and personalized.
Now grab your supplies, clear your weekend, and give those countertops the makeover they deserve. You have everything you need to make it happen.