
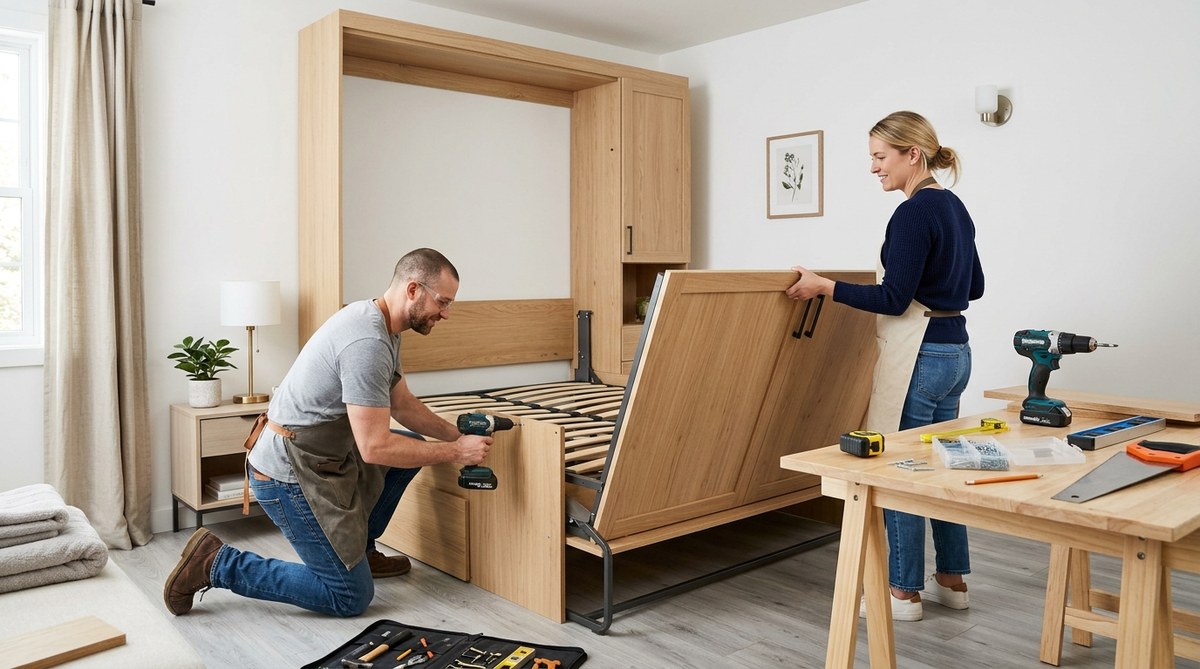
Your guest room doubles as a home office, a workout space, and a storage catch-all. The bed takes up half the floor, leaving you with a room that feels cramped no matter how you arrange the furniture. A Murphy bed solves that problem by folding up against the wall, but store-bought models cost thousands of dollars. The good news? You can build one yourself in a weekend with basic tools and a solid set of DIY Murphy bed plans.
Building a DIY Murphy bed is a practical weekend project that saves you over a thousand dollars compared to buying one. With common tools like a circular saw, drill, and level, plus a kit for the spring mechanism, you can transform any guest room into a flexible space. This guide covers material selection, frame assembly, and installation so you get a safe, sturdy bed that folds flat against the wall.
Choosing the Right Materials and Hardware
Before you cut a single board, gather everything you need. A clear material list prevents mid-project trips to the hardware store.
Plywood vs. solid wood: For the cabinet frame, use 3/4-inch furniture-grade plywood. It stays flat, resists warping, and accepts paint or stain well. Solid wood looks beautiful but costs more and can twist over time.
The bed mechanism: This is the heart of your build. Buy a Murphy bed hardware kit from a reputable supplier. These kits include the spring-loaded pistons, pivot brackets, and mounting hardware. A quality kit costs between $150 and $300. Do not skip this. The springs counterbalance the mattress weight so you can lower and raise the bed with one hand.
Mattress type: Standard spring mattresses are heavy. Memory foam or latex mattresses weigh less and are easier to lift. A queen-size memory foam mattress adds about 50 pounds less strain on the mechanism.
Tools you will need:
- Circular saw or table saw
- Power drill with driver bits
- Pocket hole jig (for strong hidden joints)
- Clamps (at least four)
- Level (a 4-foot level is best)
- Stud finder
- Tape measure and square
If you are new to woodworking, check out our guide on top 10 essential tools for successful DIY home projects before starting.
Step-by-Step Build Process
Follow these steps in order. Rushing the layout or skipping the leveling step leads to a bed that binds or sits crooked.
1. Measure and Plan Your Space
Your Murphy bed cabinet needs to be slightly taller and wider than the mattress. For a queen mattress (60 inches wide by 80 inches long), the cabinet interior should be about 61 inches wide and 82 inches tall. Add 1.5 inches to each dimension for the plywood frame thickness.
Check the ceiling height. A queen mattress standing upright needs at least 90 inches of clearance. Measure from the floor to the ceiling. If you have standard 8-foot ceilings, you have plenty of room.
2. Cut the Cabinet Parts
Cut the following pieces from your plywood:
- Top panel: 63 inches x 24 inches
- Bottom panel: 63 inches x 24 inches
- Side panels (two): 84 inches x 24 inches
- Back panel: 63 inches x 84 inches (use thinner 1/4-inch plywood here to save weight)
Use a pocket hole jig to drill holes along the edges of the top and bottom panels. This lets you screw them into the side panels without visible screws on the outside.
3. Assemble the Cabinet Box
Lay one side panel on its edge. Apply wood glue to the pocket holes. Attach the top and bottom panels. Clamp and drive the screws. Repeat for the second side panel. Stand the frame upright and check for square by measuring diagonally from corner to corner. The two measurements should match within 1/8 inch.
Attach the back panel with 1-inch screws spaced every 6 inches around the perimeter. This panel adds rigidity and prevents the cabinet from racking.
4. Install the Bed Mechanism
Follow the instructions that come with your hardware kit. Most kits require you to:
- Mount the pivot brackets to the side panels at the height specified in the manual.
- Attach the spring pistons to the bed frame (the part that holds the mattress).
- Connect the pistons to the pivot brackets.
Test the mechanism by lifting the empty bed frame before you add the mattress. It should move smoothly with light pressure.
5. Build the Mattress Platform
The platform is a simple rectangle of 3/4-inch plywood that sits inside the bed frame. Cut it to the same dimensions as your mattress plus 1/4 inch for breathing room. Attach a plywood cleat to the bottom edge of the platform so it locks into the bed frame when folded up.
Drill ventilation holes (about 20 small holes) through the platform. Mattresses need airflow to prevent mold.
6. Secure the Cabinet to the Wall
This is the most important safety step. A Murphy bed that tips forward can cause serious injury. Locate the wall studs with a stud finder. Drill pilot holes through the back panel and into the studs. Use 3-inch lag screws with washers. Install at least four screws: two near the top and two near the bottom.
If your wall has no studs where you need them, install a plywood backing board that spans multiple studs, then screw the cabinet into that board.
7. Add Trim and Finish
Cover the exposed plywood edges with iron-on edge banding. Fill the pocket holes with wood filler. Sand everything smooth. Prime and paint the cabinet to match your room. Two coats of latex paint with a semigloss sheen hold up well to handling.
Common Mistakes to Avoid
Even experienced DIYers make errors on their first Murphy bed. Here is a table of the most frequent problems and how to prevent them.
| Mistake | Why It Happens | How to Fix It |
|---|---|---|
| Cabinet is not square | Uneven cuts or loose clamps during assembly | Measure diagonals before the glue dries. Adjust with a mallet. |
| Bed binds when folding | Cabinet opening is too narrow or pivot brackets are misaligned | Add 1/4 inch to the cabinet width. Double-check bracket placement. |
| Mattress does not fit | Wrong mattress dimensions or platform too thick | Use a tape measure on the actual mattress, not the label size. |
| Cabinet pulls away from wall | Screws missed the studs | Use a stud finder and mark centers before drilling. |
| Springs are too strong or too weak | Incorrect spring tension for mattress weight | Adjust tension with the wrench included in most kits. |
Safety Considerations
A Murphy bed is a heavy piece of furniture that moves under tension. Treat it with respect.
- Always have a helper when lifting the cabinet into position.
- Never let children play near the bed mechanism.
- Install a safety latch that prevents the bed from opening accidentally.
- Check the lag screws every six months to ensure they remain tight.
If you are looking for more ways to maximize a small room, our guide on easy DIY storage solutions for small spaces offers complementary ideas.
Finishing Touches and Styling
Once the bed is installed, make it blend into the room. Add a false front panel that matches your existing cabinets. Install crown molding across the top. Paint the cabinet the same color as the wall so it disappears when the bed is folded up.
For the room itself, consider adding a wall-mounted desk that folds down from the opposite wall. This creates a home office by day and a guest bedroom by night. If you want to extend the project, our tutorial on how to build a custom bookshelf without professional help pairs nicely with the Murphy bed cabinet.
“The most common mistake I see is people trying to save money by cheaping out on the hardware kit. Spend the extra hundred dollars. A good mechanism makes the bed feel like a piece of precision furniture instead of a wrestling match.” — Tom Silva, general contractor and host of Ask This Old House
Your Weekend Project Plan
Building a DIY Murphy bed is a rewarding project that adds real value to your home. You save money, learn new skills, and end up with a piece of furniture that makes your guest room work twice as hard.
Here is your weekend timeline:
Friday evening (2 hours): Clear the room. Buy all materials and hardware. Lay out the plywood and mark your cuts.
Saturday (6 to 8 hours): Cut and assemble the cabinet. Install the bed mechanism. Mount the cabinet to the wall.
Sunday (4 to 6 hours): Build the mattress platform. Add trim. Apply primer and one coat of paint. Let it dry overnight.
Monday evening: Add the second coat of paint. Install the safety latch. Place the mattress.
That is a full guest room transformation in one weekend. No expensive contractor. No waiting weeks for delivery. Just you, some plywood, and a solid plan.
If you enjoyed this project, try your hand at building a DIY pallet coffee table in a weekend for the living room. Your home will thank you.