
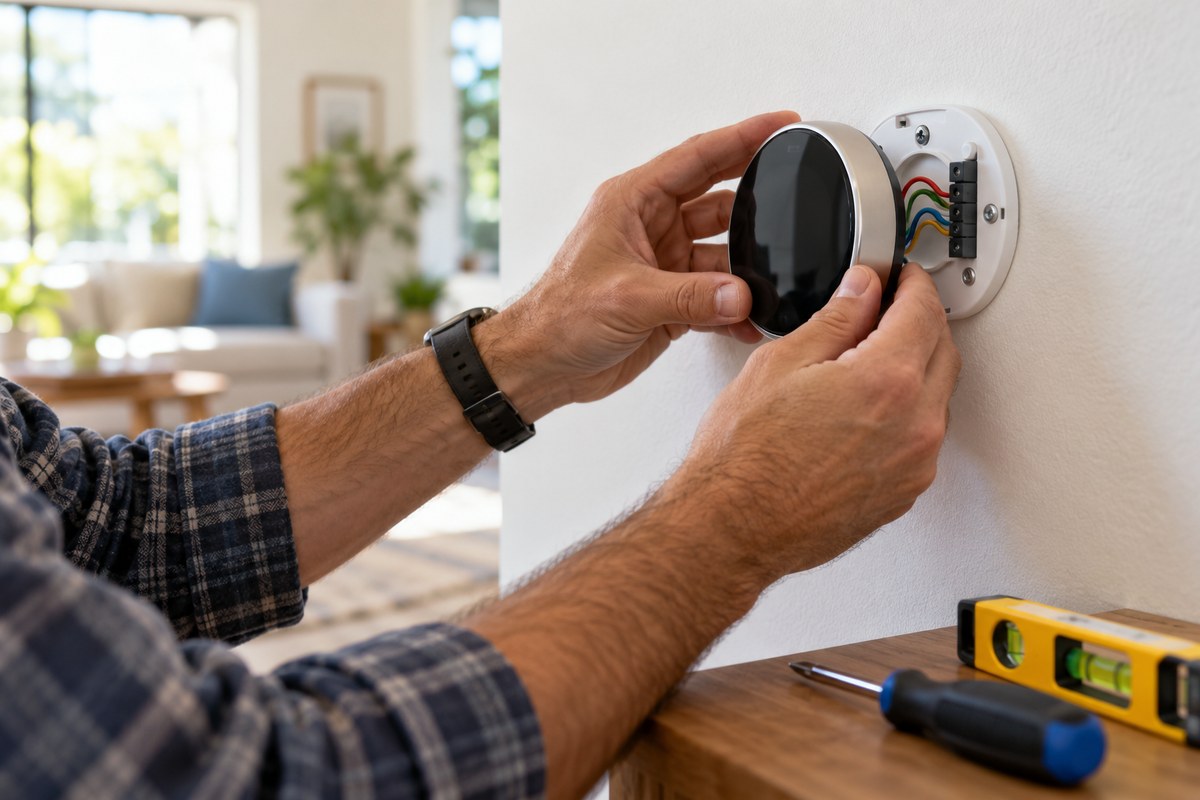
You want to save money on your energy bill. You want to control your home’s temperature from your phone. The idea of pulling an old thermostat off the wall and touching wires makes you nervous. That is normal. But here is the truth: most homeowners can install a smart thermostat without hiring an electrician. The process is safer and simpler than you think. With a few basic tools and a clear understanding of your system, you can finish this project in under an hour.
You can safely install a smart thermostat without an electrician by first checking your system’s compatibility, turning off power at the breaker, and matching labeled wires. Most modern homes use low-voltage systems that are DIY-friendly. If you lack a C-wire, use an adapter or a thermostat designed to run on batteries. Always photograph the old wiring before you disconnect anything. This guide covers every step, from choosing the right model to testing your new device.
Check Your System Compatibility First
Before you buy anything, you need to know what you are working with. Not every home is ready for a smart thermostat right out of the box. Older homes, especially those built before the 1980s, may use millivolt systems or line-voltage systems that are not compatible with standard smart thermostats.
Start by looking at your current thermostat. Pop the cover off and look at the wires. You are looking for a few key things:
- Low voltage wiring. Most smart thermostats run on 24V or less. If you see thick wires and a high voltage label, stop. That is a line-voltage system and requires a professional.
- A C-wire (common wire). This wire provides continuous power to the thermostat. Many smart thermostats need it. If you do not have one, you can still install a smart thermostat. You just need a model that works without it or you can use a power adapter kit.
- The number of wires. A standard setup has two to five wires. Count them and write down the colors. Common colors include red, white, green, yellow, and blue.
If your system uses a heat pump, a forced air furnace, or a standard central air conditioner, you are almost certainly good to go. Radiant floor heating and electric baseboard systems sometimes require special models.
If you are unsure about your home’s wiring, check the manual for your HVAC system. You can also look up the model number online. Many manufacturers post compatibility lists for popular smart thermostats.
Tools You Will Need
You do not need a toolbox full of expensive gear. Most of these items are already in your junk drawer.
- Flathead and Phillips screwdrivers
- A voltage tester (non-contact is safest)
- A drill with a small bit (for wall anchors if needed)
- A level
- Your smartphone (for the app)
- Painter’s tape and a pen (for labeling wires)
That is it. You do not need wire strippers unless you are cutting new wire, which is rare. Most smart thermostats come with pre-stripped leads or screw terminals.
The Step-by-Step Process to Install a Smart Thermostat
Follow these steps in order. Do not skip the power shutoff. That is the only part where mistakes can hurt you.
1. Turn Off Power at the Breaker
Go to your electrical panel. Find the breaker that controls your HVAC system. It is usually labeled “Furnace,” “AC,” or “Heat.” Flip it to the off position. If you are not sure which breaker it is, turn off the main breaker for the whole house. It takes two minutes and guarantees safety.
2. Remove the Old Thermostat Faceplate
Most thermostats snap off or have small screws on the bottom. Gently pull the faceplate away from the wall. You will see the wires connected to the back. Do not disconnect anything yet.
3. Take a Photo
This is the most important step. Take a clear photo of the wires and their terminal labels. You will reference this photo when connecting the new thermostat. If the labels are faded or missing, use painter’s tape to label each wire as you disconnect it. Write down which terminal it came from.
4. Disconnect the Wires
Loosen the screws on the old terminals. Pull each wire off. Straighten the wire loops with your fingers or pliers. You want clean, straight copper for the new terminals.
5. Mount the New Base Plate
Your smart thermostat comes with a base plate that screws into the wall. Hold it against the wall and use a level to make sure it is straight. Mark the screw holes. If you are mounting into drywall, use the included wall anchors. If you are mounting into a stud, use the wood screws. Do not overtighten.
6. Connect the Wires to the New Base
Look at your photo. Match each wire to the correct terminal on the new base plate. Most smart thermostats use labeled terminals: R, W, Y, G, C, or similar. Push the wire into the terminal slot and tighten the screw. Give each wire a gentle tug to make sure it is secure.
Here is a common wire mapping table for reference:
| Old Terminal Label | Common Wire Color | Smart Thermostat Terminal |
|---|---|---|
| R or Rh | Red | R (or Rh) |
| W or W1 | White | W (or W1) |
| Y or Y1 | Yellow | Y (or Y1) |
| G or G1 | Green | G (or G1) |
| C | Blue or Black | C |
If you do not have a C-wire, check if your thermostat comes with a PEK (Power Extender Kit). This kit installs near your furnace and provides the missing power wire. Follow the instructions that come with the kit. It is a simple plug-and-play module.
7. Attach the Faceplate
Snap the smart thermostat faceplate onto the base. It should click into place. If it does not sit flush, check that no wires are pinched behind the plate.
8. Restore Power
Go back to the breaker panel and flip the HVAC breaker back on. Wait for the thermostat to boot up. Most smart thermostats have a small screen that lights up within 30 seconds.
9. Follow the On-Screen Setup
The thermostat will walk you through connecting to your Wi-Fi network and setting your preferences. Download the companion app on your phone to finish the configuration.
Common Mistakes and How to Avoid Them
Even experienced DIYers make these errors. Knowing them ahead of time saves you a second trip to the hardware store.
- Forgetting to label wires. You think you will remember. You will not. Take the photo.
- Overtightening terminal screws. This strips the screw or breaks the wire. Snug is enough.
- Using the wrong voltage tester. A non-contact voltage tester is fine for checking if power is off. But it can give false negatives on low-voltage systems. Use a multimeter if you want to be absolutely sure.
- Buying a thermostat that needs a C-wire without checking. If your home has no C-wire and you buy a model that requires one, you will have to return it or install a PEK. Check before you buy.
- Mounting the thermostat in a bad spot. Do not put it near a window, a drafty door, or a heat source like a lamp or oven. It will read the wrong temperature and run your HVAC system inefficiently.
Expert advice from a licensed HVAC tech: “Ninety percent of the service calls I get for smart thermostats are because the homeowner mounted it in direct sunlight or near a kitchen. The thermostat thinks the house is hot, so it runs the AC nonstop. Put it on an interior wall in a hallway for the most accurate readings.”
What to Do If Your System Is Not Compatible
Sometimes you open the panel and see something unexpected. Maybe you have a heat-only system with two wires. Maybe you have a heat pump with a reversing valve. Do not panic.
Here are your options:
- Two-wire heat-only systems. Many smart thermostats work with two wires. You just lose the ability to control cooling. Look for a model that supports “heat only” mode.
- Millivolt systems. These are rare but common in some older mobile homes. They use a tiny voltage generated by a thermocouple. Smart thermostats cannot run on millivolt power. You need a professional to convert the system.
- Line-voltage thermostats. If your old thermostat has thick wires and is labeled 120V or 240V, stop. Do not install a standard smart thermostat. You need a line-voltage smart thermostat or a relay. This is one of the few cases where you should call an electrician.
If you are renting, check your lease before making any changes. Some landlords allow thermostat swaps. Others do not. You can always install a smart thermostat that uses batteries and does not require wiring changes. Models like the Ecobee Lite or some Nest models work without a C-wire and are renter-friendly.
Why Doing It Yourself Saves More Than Money
Hiring an electrician to install a smart thermostat costs between $100 and $250 on average. The thermostat itself costs between $80 and $250. If you do the install yourself, you save the labor cost and you gain confidence for your next DIY project.
Once your thermostat is installed, you can set schedules, adjust temperatures remotely, and track your energy usage. Most homeowners see a 10% to 15% reduction in heating and cooling costs within the first year. That means the thermostat pays for itself in less than 12 months.
If you want to expand your DIY skills, consider tackling other projects around the house. You could learn to master basic home repairs to save money and increase safety. Or you could try a weekend project like building a custom bookshelf without professional help. Every project you finish builds your confidence and your home’s value.
Your Weekend Project Starts Now
You have the information. You have the tools. The only thing left is to do the work. Start by pulling the cover off your current thermostat and taking that photo. That single action will tell you everything you need to know. If you see a C-wire, you are golden. If you do not, you know which thermostat model to buy.
Installing a smart thermostat without an electrician is not a gamble. It is a straightforward process that thousands of homeowners complete every weekend. You can be one of them. Turn off the breaker, follow the steps, and enjoy the comfort and savings of a smarter home.