
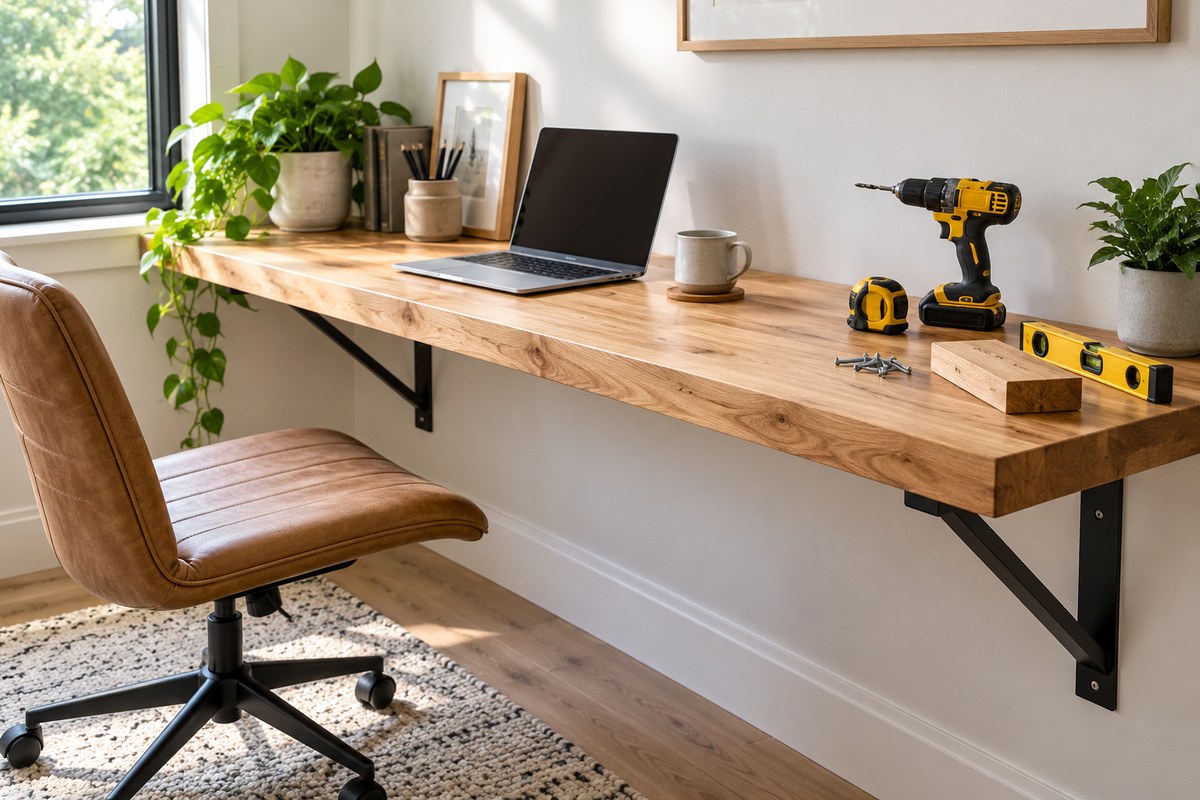
Your home office is probably the last room you want to sacrifice for space. If you work remotely, you know that a cramped desk can kill your focus and your posture. A DIY wall mounted desk offers a smart solution. It takes up zero floor space, it fits your exact room dimensions, and you can build it with basic tools over a Saturday and Sunday. This guide walks you through the entire process, from choosing the right lumber to mounting the finished top securely on your wall.
A DIY wall mounted desk is one of the most practical weekend projects for a remote worker. You save floor space, customize the size and style to your room, and build a sturdy work surface for under $100 in materials. With a circular saw, a drill, and a level, you can complete this project in two days. Focus on finding wall studs, using a strong bracket system, and finishing the wood properly to protect it from daily wear.
Why a Wall Mounted Desk Works for Remote Workers
A standard desk with legs eats up square footage. In a small apartment or a spare bedroom turned office, that lost space matters. A wall mounted desk solves the problem by attaching directly to the wall studs. The result is an open, airy feel underneath the desk. You can slide a chair under it, store bins below, or leave the area clear for yoga stretches between calls.
This style also lets you set the exact height you need. If you are taller or shorter than average, a store bought desk may not fit your ergonomic needs. With a DIY wall mounted desk, you decide the height. Most people aim for 29 inches from the floor to the desktop, but you can adjust based on your chair and your own measurements.
Another advantage is the clean, modern look. Without visible legs, the desk appears to float on the wall. It creates a minimalist aesthetic that works well with a small monitor setup or a laptop only arrangement.
Tools and Materials You Will Need
Before you start cutting wood, gather everything on this list. Running to the hardware store mid project breaks your momentum and eats up your weekend.
- Circular saw or miter saw
- Drill and drill bits (a 1/8 inch pilot bit and a 3/8 inch spade bit)
- Stud finder
- 4 foot level
- Tape measure
- Sandpaper (120 grit and 220 grit)
- Wood glue
- Clamps
For the desk itself, you need these materials:
- One sheet of 3/4 inch plywood (birch or sanded pine)
- Two 2×4 boards for the wall cleat
- 3 inch deck screws
- 2 1/2 inch wood screws
- Wood stain or paint of your choice
- Polyurethane or clear coat finish
- Optional: cable management grommets
If you are new to woodworking, consider reading up on top 10 essential tools for successful DIY home projects before you start. Having the right gear makes a big difference.
Step by Step Build Process
Follow these numbered steps in order. Each step builds on the last one, so do not skip ahead.
-
Find and mark your wall studs. Use a stud finder to locate studs in the wall where you want the desk. Mark each stud with a pencil line. Studs are usually spaced 16 or 24 inches apart. You need at least two studs for a desk up to 48 inches wide, and three studs for a desk up to 72 inches wide.
-
Cut the plywood desktop to size. Measure the width you want between the studs, then add 4 inches on each side for overhang. A common size is 60 inches wide by 24 inches deep. Use a circular saw with a straight edge guide to make clean cuts. Sand all edges with 120 grit paper, then switch to 220 grit for a smooth finish.
-
Build the wall cleat. Cut two 2x4s to the exact width of your desktop. Screw them together with wood glue and 3 inch deck screws to form a single strong beam. This cleat will carry the weight of the desk and everything on it.
-
Attach the cleat to the wall. Hold the cleat at your desired height. Use a level to make sure it is perfectly horizontal. Drill pilot holes through the cleat and into each stud. Drive 3 inch deck screws through the cleat into the studs. Tighten them until the cleat feels solid against the wall.
-
Position the desktop on the cleat. Set the plywood top on top of the cleat. Make sure the back edge of the desktop is flush against the wall. If you plan to run cables, drill holes for grommets now. Use a 3/8 inch spade bit for standard grommets.
-
Secure the desktop from underneath. Drive 2 1/2 inch wood screws up through the cleat and into the desktop. Space the screws every 8 to 10 inches along the length of the cleat. Countersink the screw heads slightly so they do not scratch your legs.
-
Sand and finish the desktop. Remove the desktop from the cleat if you prefer to finish it separately. Apply stain or paint with a foam brush or a rag. Let it dry according to the manufacturer instructions. Apply two coats of polyurethane for durability. Sand lightly between coats with 220 grit paper.
-
Reattach the finished desktop. Once the finish is fully cured, screw the desktop back onto the cleat. Use the same holes from step 6. Your desk is now ready for use.
For more ideas on maximizing your workspace, check out this guide on easy DIY storage solutions for small spaces.
Common Mistakes and How to Avoid Them
Even experienced DIYers make errors when building a wall mounted desk. Here is a table that shows the most frequent mistakes and the correct approach.
| Mistake | Why It Happens | How to Avoid It |
|---|---|---|
| Desk not level | Wall cleat was installed without a level | Use a 4 foot level and check it in multiple spots before driving screws |
| Desktop bows in the middle | Cleat is too short or plywood is too thin | Use 3/4 inch plywood and extend the cleat the full width of the desk |
| Screws strip out | Pilot holes were too small or skipped | Always drill pilot holes, especially in plywood edges |
| Desk pulls away from wall | Screws missed the studs | Use a stud finder and mark stud centers before drilling |
| Finish looks blotchy | No pre stain conditioner on soft wood | Apply a wood conditioner before staining pine or birch plywood |
Expert advice: If you are mounting a desk in a room with uneven walls, shim the cleat with thin plastic or wood shims before tightening the screws. This keeps the desk level even when the wall is not perfectly straight.
Choosing the Right Finish for Your Desk
The finish you choose affects how the desk looks and how well it holds up over time. Consider these options.
- Matte polyurethane. This is the most durable option for a desk that sees daily use. It resists water rings, coffee spills, and scratches. Apply at least two coats.
- Paint with a top coat. If you want a color other than wood tones, use a high quality interior latex paint. Seal it with a water based polyurethane to prevent wear.
- Oil finish. Tung oil or Danish oil gives a natural look and is easy to repair. It offers less protection against spills, so use coasters.
For a desk that will hold a heavy monitor, a keyboard, and a lamp, matte polyurethane is the safest bet. It dries clear and does not reflect glare from overhead lights.
Customizing Your Desk for Your Workflow
A wall mounted desk does not have to be a plain rectangle. You can add features that make your work day easier.
- Add a lower shelf. Cut a second piece of plywood and mount it between the studs about 10 inches below the main desktop. This creates a spot for a printer or a stack of notebooks.
- Install cable management. Drill holes for grommets near the back edge. Run cables through the grommets and down the wall inside a cord cover.
- Attach a monitor arm. A monitor arm clamps to the back edge of the desk or mounts directly to the wall. This frees up desktop space and improves your viewing angle.
If you want to personalize the space even more, consider some simple DIY wall art ideas to hang above your new desk.
A Weekend Plan That Works
Here is how to break the project across two days.
Saturday morning: Measure your space, buy materials, and cut the plywood and 2x4s. Sand the desktop and apply the first coat of stain or paint.
Saturday afternoon: Install the wall cleat and mount the desktop temporarily. Check the level and adjust if needed. Remove the desktop and apply the second coat of finish.
Sunday morning: Lightly sand the finish and apply the final coat of polyurethane. Let it dry for several hours.
Sunday afternoon: Reattach the desktop. Install grommets and route cables. Set up your monitor, keyboard, and chair.
This schedule leaves you with a fully functional desk by Sunday evening. You can start Monday morning with a workspace that fits your room and your workflow.
Final Thoughts on Building Your Own Desk
Building a DIY wall mounted desk is one of those projects that pays off every single workday. You save money compared to buying a solid wood desk. You gain floor space that you did not realize you were missing. And you get the satisfaction of using something you built with your own hands.
The process is straightforward. Measure twice, cut once, and take your time with the finish. If you run into a problem, back up a step and check your level or your stud placement. Most mistakes are easy to fix if you catch them early.
Now is the time to start. Clear your weekend, pick up the materials, and build a desk that works for you. Your back will thank you, your space will feel larger, and you will wonder why you did not do it sooner.