Starting with a few simple repairs can make a big difference in your home’s safety, appearance, and your budget. Handling basic home repairs yourself not only saves money but also gives you a sense of accomplishment. Whether you’re fixing a leaky faucet, patching up drywall, or replacing a broken switch, knowing the right steps can turn a daunting task into a manageable project. This guide covers essential repair skills every homeowner or DIY enthusiast should have at hand.
Mastering basic home repairs helps you save money and keeps your home safe. This guide provides step-by-step tips on common fixes, safety precautions, and troubleshooting techniques to empower you to handle household repairs confidently.
Understanding the foundation of DIY home repairs
Before jumping into repairs, it’s important to understand what tools and materials you’ll need. Basic supplies include a screwdriver set, pliers, a utility knife, a level, a drill, and some essential repair parts like screws, nails, and patching compound. Keep a toolbox stocked so you’re always ready to tackle small issues promptly. Remember, safety first; always turn off power or water supply before working on electrical or plumbing fixtures.
How to approach common household repairs
Taking on repairs step-by-step ensures safety and effectiveness. Here’s a simple process to guide you through most projects:
- Identify the problem clearly
Understand what is wrong. Is it a leak, a loose fixture, or a damaged surface? - Gather the necessary tools and parts
Collect everything you’ll need before starting. - Follow instructions or tutorials carefully
Use trusted sources for guidance or step-by-step tutorials.
Being organized and patient makes repairs smoother and reduces mistakes. Now, let’s explore some of the most common repairs you should know.
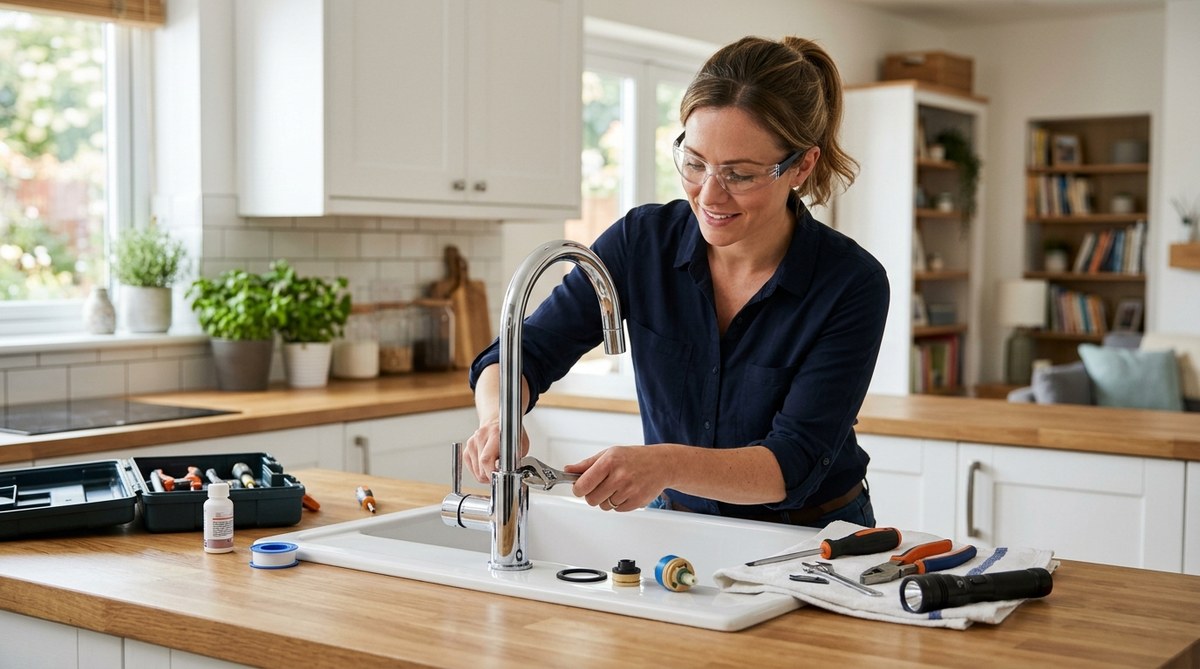
Fixing leaky faucets and plumbing issues
A dripping faucet can waste water and increase your utility bill. To fix it:
- Turn off the water supply under the sink.
- Remove the faucet handle with a screwdriver.
- Inspect the O-ring or cartridge for damage.
- Replace worn parts with new ones, which you can find at your local hardware store.
- Reassemble and turn the water back on to test.
Plumbing repairs often seem complex but are usually straightforward when you follow the right steps. For more detailed guidance, check out a comprehensive plumbing repair guide.
Repairing drywall and patching holes
Damaged drywall not only looks unsightly but can also affect insulation and safety. Here’s how to patch small holes:
- Clean around the hole to remove loose debris.
- Apply a patching compound with a putty knife.
- Smooth the surface and let it dry.
- Sand lightly for a flush finish.
- Paint over the patched area to match your wall color.
Use a drywall repair kit for larger holes and always sand smooth before painting. For detailed techniques, visit this drywall patching tutorial.
Replacing switches and outlets safely
Electrical repairs can be intimidating but are manageable with caution:
- Turn off power at the circuit breaker.
- Use a voltage tester to confirm the power is off.
- Remove the switch or outlet cover plate.
- Unscrew and disconnect the wires.
- Connect new switch or outlet following the color code: black or red for hot, white for neutral, and green or bare for ground.
- Reassemble and turn the power back on to test.
Always double-check your wiring and consult a professional if you’re unsure. For more on electrical safety, see this electrical repair guide.
Fixing or replacing door hardware and locks
Loose or broken door hardware compromises security and safety. To fix:
- Tighten screws on hinges or handles.
- Replace worn-out locks or knobs with new ones from your hardware store.
- Ensure door latches align properly for smooth operation.
Use a level to check if the door hangs straight. Properly functioning locks and hinges improve safety and prevent accidental damage.
Troubleshooting and avoiding common mistakes
| Technique | Mistake to Avoid |
|---|---|
| Turn off electrical or water supply before working | Working live or with water flowing can cause shocks or flooding |
| Use the right tools for the job | Using improper tools damages fixtures and prolongs repairs |
| Follow step-by-step guides | Skipping steps leads to mistakes and rework |
| Measure twice, cut once | Cutting too short or too long wastes materials and time |
Expert tip: Always wear safety gear like gloves and goggles when working on repairs. It protects you from sharp edges, debris, or electrical shocks.
Tips for safe and effective repairs
- Always turn off power or water before starting repairs.
- Use the right tools and replacement parts.
- Take your time and double-check each step.
- Keep your workspace clean to avoid accidents.
- When in doubt, consult a professional or trusted tutorial.
By following these simple precautions, you can prevent injuries and damaging your home.
When to call a professional and when to DIY
While many repairs are suitable for DIY approach, some require expert help:
- Electrical wiring or major plumbing issues should be handled by licensed professionals.
- Structural repairs or extensive drywall work might need specialized skills.
- If you’re unsure about your skill level or the repair involves safety risks, it’s best to hire a pro.
Balancing DIY with professional help ensures your home remains safe and well-maintained.
Regular maintenance saves money and stress
Prevention is key to avoiding big repairs. Simple tasks like cleaning gutters, inspecting for leaks, and tightening loose fixtures can prevent costly damage. Creating a seasonal maintenance checklist helps you stay ahead of issues. For example, checking your roof before winter or inspecting seals around windows minimizes water intrusion and heat loss.
Embracing a DIY mindset for home safety and savings
Handling basic repairs builds confidence and reduces expenses. Start small with tasks like fixing minor leaks or repainting walls. As you gain experience, you can take on more complex projects. Remember, every repair completed is a step toward a safer, more comfortable home.
Wrapping up your repair journey
Taking charge of your home repairs is empowering and practical. Use this guide as a foundation to handle common issues confidently. Keep your tools handy, follow safety procedures, and don’t hesitate to seek expert advice when needed. Your home is your haven, and maintaining it with simple fixes keeps it safe, functional, and welcoming for years to come.
Happy fixing! Your effort today makes your home better tomorrow.