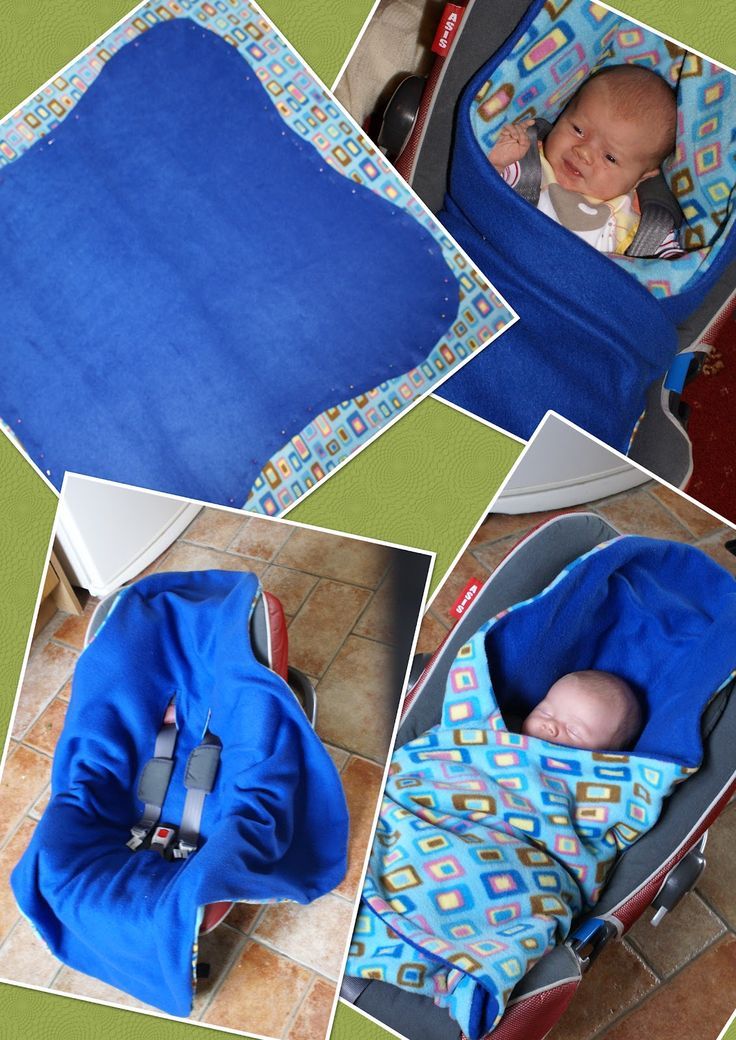
CAR SEAT BLANKET
4. Cut Second Fabric
You could repeat step three and fold in quarters and measure the curve, but I was worried about both sides being matched up, so I just laid out my backing (pink) with wrong side up.
Then I laid my top (blue) with wrong side down and fit them together and smoothed the layers evenly.
Then I just had to trim the curves of pink showing, and I knew the blanket would line up perfectly.

5. Baste Edges
Before my two layers could shift and get messed up, I ran up to serge around the edge. If you don’t have a serger, just baste (straight-stitch with longest stitch length) around the edge to secure the two layers together.

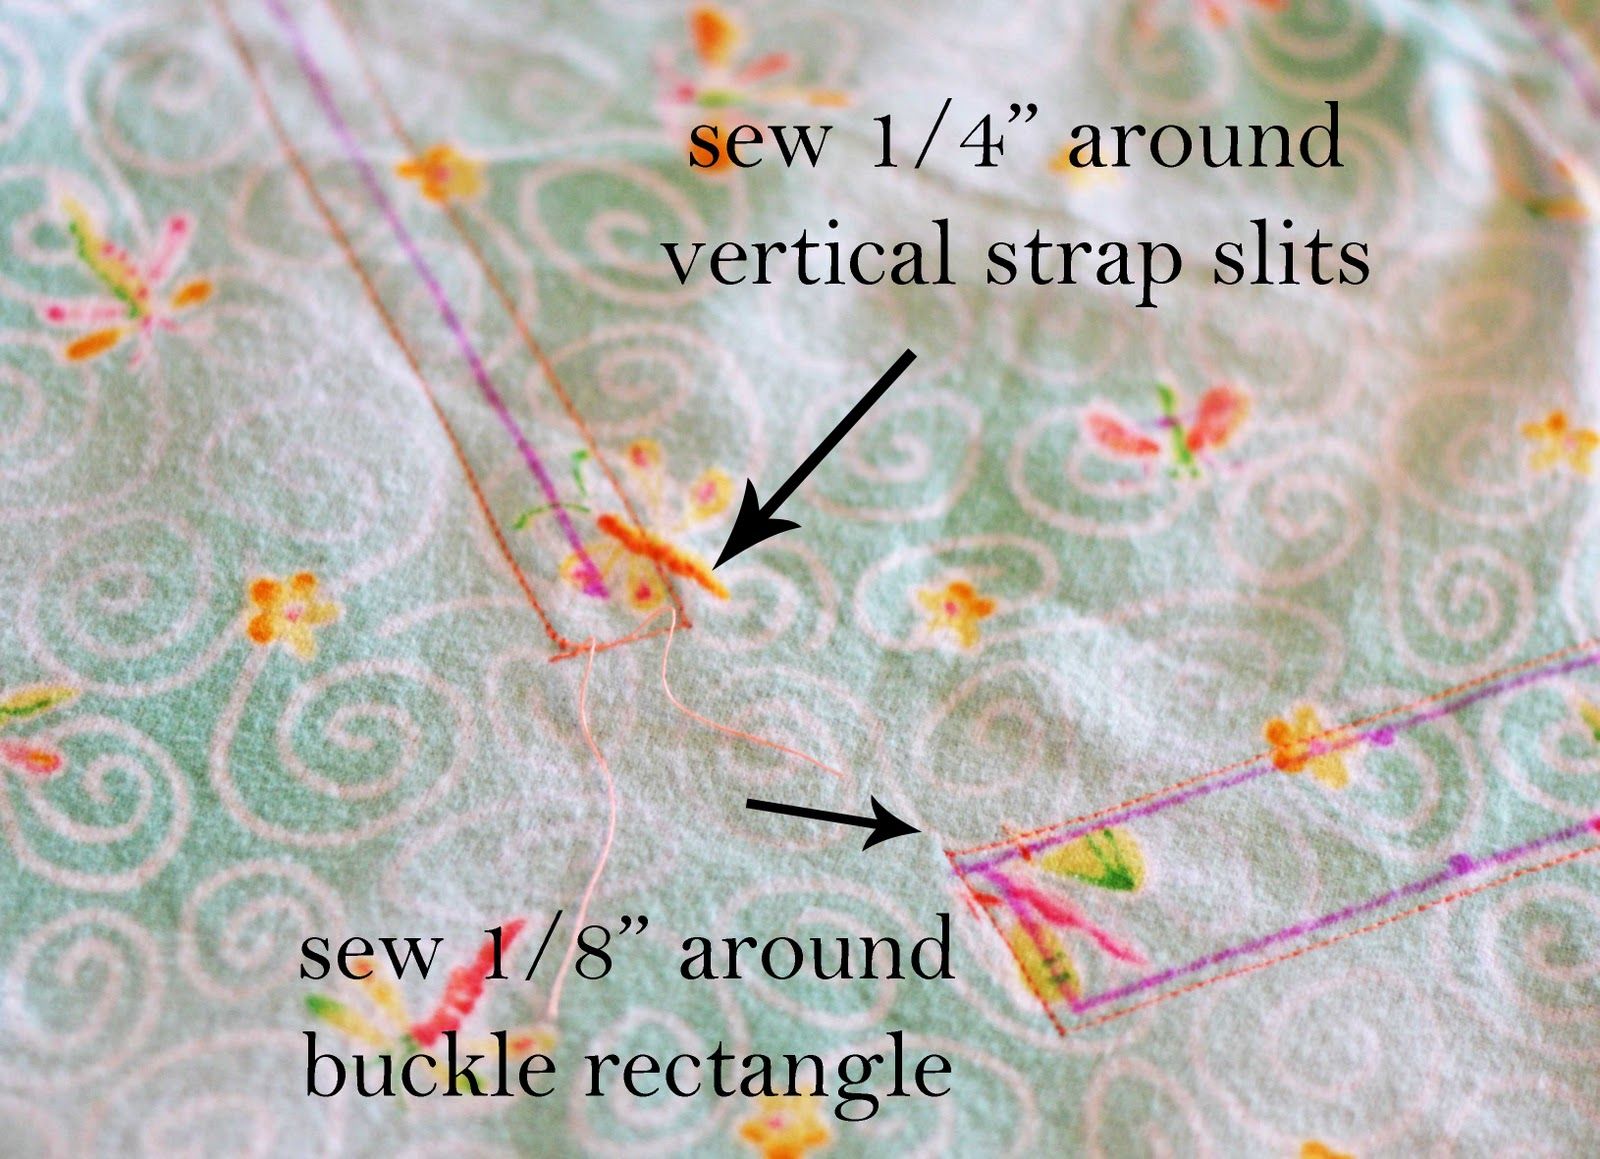
6. Measure and Mark Strap Cut Marks
First you’ll fold your blanket on a diagonal and get a good center crease to use as a guide.

Next use the following photo to measure out the 2 vertical strap slits, and rectangular buckle hole below. I make my marks with a fabric pen that disappears.