
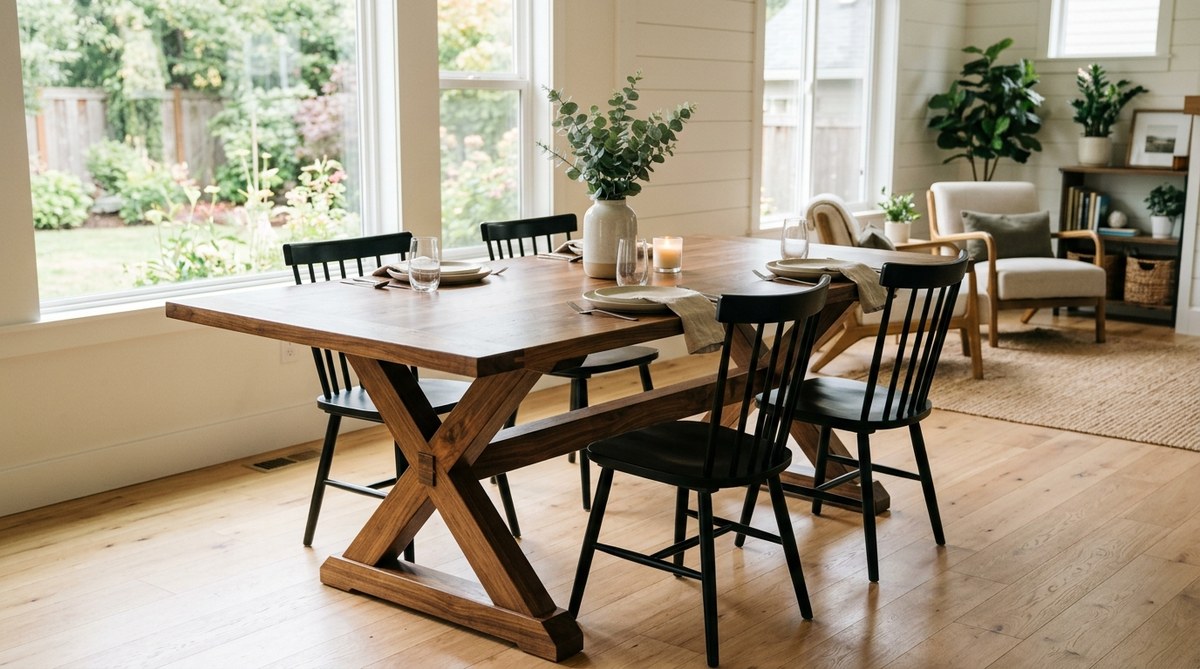
You walk into a furniture store, spot a solid wood farmhouse table, and flip over the price tag. Eight hundred dollars. For a table made from particle board with a veneer that will peel in two years. It’s frustrating, especially when you know you could build something sturdier yourself for a fraction of the cost. The good news is that you can build a custom farmhouse dining table for under $200. You just need the right plan and a weekend of work.
Building a farmhouse dining table for under $200 is absolutely possible if you choose the right lumber and keep the design simple. Use construction-grade pine for the top and legs, skip expensive joinery kits, and finish with a durable polyurethane. You will save at least $400 compared to store-bought options and end up with a piece that will last decades.
Why a DIY Farmhouse Table Beats Store-Bought
A farmhouse table is the heart of a home. It’s where you share meals, help kids with homework, and host holiday dinners. The rustic look with a thick top and sturdy legs is timeless. But buying one from a big-box retailer often means paying for a brand name and cheap materials.
When you build it yourself, you control the quality. You can choose solid wood that won’t warp. You can customize the length to fit your space. And you can do all of this while staying under $200. The trick is to avoid overcomplicating the design. A farmhouse table is essentially a flat top, four legs, and a support apron. That’s it.
What You Will Need
Before you head to the lumber yard, gather your tools and materials. This list assumes you own basic power tools. If you’re missing something, check if a neighbor can lend it. Many DIYers already own most of these items.
Tools
- Circular saw or miter saw
- Drill and impact driver
- Sander (orbital or sheet)
- Tape measure and square
- Clamps (at least four)
- Level
Materials
- 2×10 pine boards (three 8-foot boards for the top)
- 4×4 pine post (8 feet, cut into four legs)
- 2×4 pine boards (two 8-foot boards for the apron)
- Wood glue
- 2 1/2 inch pocket screws
- 120 and 220 grit sandpaper
- Stain and polyurethane finish
Total cost should land around $160 to $190 depending on your local lumber prices. That leaves you room to buy a nice stain.
Step-by-Step Building Process
Follow these steps in order. Rushing the glue-up or skipping the sanding will show in the final result.
-
Cut the tabletop boards to length. Measure and mark your 2×10 boards at 72 inches. Cut all three with a circular saw. Stack them side by side to check that the edges line up. If they don’t, trim the high spots with a hand plane or sander.
-
Glue and clamp the top. Lay the boards flat with the best face up. Apply a bead of wood glue along each joint. Clamp them together tightly. Wipe away excess glue with a damp rag. Let it dry for at least four hours.
-
Build the apron. Cut your 2×4 boards into two 60-inch pieces (long sides) and two 28-inch pieces (short sides). Drill pocket holes along the ends of each short piece. Attach them to the long pieces with pocket screws to form a rectangle. This frame sits underneath the tabletop.
-
Attach the legs. Cut the 4×4 post into four 29-inch legs. Center each leg inside the corners of the apron. Drill pilot holes and drive 3 inch screws through the apron into the legs. Use a level to make sure the legs are straight before tightening.
-
Secure the top to the base. Flip the tabletop upside down on a blanket. Center the leg assembly on top. Use figure-eight fasteners or L-brackets to attach the apron to the top. These allow the wood to expand and contract with humidity.
-
Sand everything. Start with 120 grit sandpaper to remove mill marks and glue residue. Follow with 220 grit for a smooth finish. Pay extra attention to the edges and corners.
-
Apply stain and finish. Wipe on stain with a rag. Let it sit for five minutes, then wipe off the excess. Wait 24 hours. Apply two coats of polyurethane with a foam brush, sanding lightly with 320 grit between coats.
Common Mistakes and How to Avoid Them
Even experienced DIYers make errors. Here are the most common pitfalls and the fixes.
| Mistake | Why It Happens | How to Avoid It |
|---|---|---|
| Tabletop warps after assembly | Boards weren’t acclimated to your home | Let lumber sit in your house for 48 hours before cutting |
| Gaps between tabletop boards | Edges weren’t jointed straight | Use a jointer or run boards through a table saw to square edges |
| Legs wobble | Apron isn’t square | Measure diagonals before attaching legs; they should match |
| Finish looks blotchy | Stain applied unevenly | Use a pre-stain conditioner on pine |
| Screws strip out | Wrong pilot hole size | Use the correct bit for your screw gauge |
Finishing Touches for a Professional Look
The finish is what separates a DIY table from a heirloom piece. Pine is a soft wood, so it needs a protective coat. Polyurethane is your best friend here. It resists water rings and scratches better than wax or oil.
For a modern farmhouse look, choose a gray wash or a dark walnut stain. If you prefer a lighter Scandinavian style, use a whitewash or simply clear coat the natural wood. You can also distress the edges with a hammer or chain for a reclaimed feel. Just tap lightly along the corners and sand the dents smooth.
Expert tip: If you want a truly flat tabletop, use a router sled after the glue-up. This flattens the entire surface in one pass. It’s an advanced step, but it guarantees a professional result.
Adjusting the Size for Your Space
The plan above creates a table that is 72 inches long and about 30 inches wide. That seats six to eight people comfortably. If your dining room is smaller, scale it down. Use two 2×10 boards instead of three and cut the legs to 28 inches. If you need a longer table for large gatherings, add a fourth 2×10 board and extend the apron to 84 inches.
Keep the leg height around 29 inches. That is standard for dining tables and works with most chairs. Going shorter makes it feel like a coffee table. Going taller makes it awkward to eat at.
Why Pine Is the Right Choice
Some DIY guides recommend oak or maple. Those woods look beautiful, but they cost three times as much. Pine is cheap, widely available, and easy to work with. It takes stain well if you use a conditioner. It also has a rustic grain pattern that fits the farmhouse style perfectly.
The downside is that pine dents more easily than hardwood. If you have young kids who bang toys on the table, consider adding an extra coat of polyurethane. You can also top the table with a piece of glass for protection.
How to Save Even More Money
If your budget is tight, there are ways to cut costs further.
- Use 2×8 boards instead of 2x10s. They are cheaper and lighter.
- Skip the stain. Use a clear coat only. Pine has a nice warm color naturally.
- Build the legs from stacked 2x4s instead of a 4×4 post. Glue two 2x4s together to make a 3 1/2 inch square leg.
- Buy lumber from a local sawmill. They often sell rough-cut pine for half the price of big-box stores.
These changes can bring your total under $150 without sacrificing durability.
A Weekend Project You Will Love
Building a table is one of the most satisfying DIY projects you can tackle. It’s practical, it saves money, and it becomes a conversation piece in your home. Every scratch and dent tells a story. And when someone asks where you bought it, you get to say, “I built it.”
If you are new to woodworking, this is a great project to build confidence. The cuts are straight, the joinery is simple, and the materials are forgiving. You can also pair this build with other home upgrades. For example, you might want to transform your living space with simple DIY home decor projects to complete the room.
Caring for Your Table Over Time
Your farmhouse table will last for decades if you treat it right. Use coasters under drinks. Clean spills promptly. Reapply a coat of polyurethane every two years, especially on the top. If the surface gets scratched, sand it lightly and add a fresh coat of finish.
In five years, if you decide you want a different color, you can sand it down and restain it. That flexibility is something you never get with a veneered store table.
Your Custom Table Awaits
The hardest part of this project is making the first cut. After that, it’s just assembly and finishing. You don’t need a professional workshop. You don’t need expensive lumber. You just need a plan and a willingness to try.
Grab your materials this weekend. Clear your Saturday. Invite a friend to help flip the tabletop during glue-up. By Sunday evening, you’ll be sitting at a table you built with your own hands, and you’ll have spent less than $200. That’s a win you can feel proud of.