diy Clothes goth
Page 8 of 17
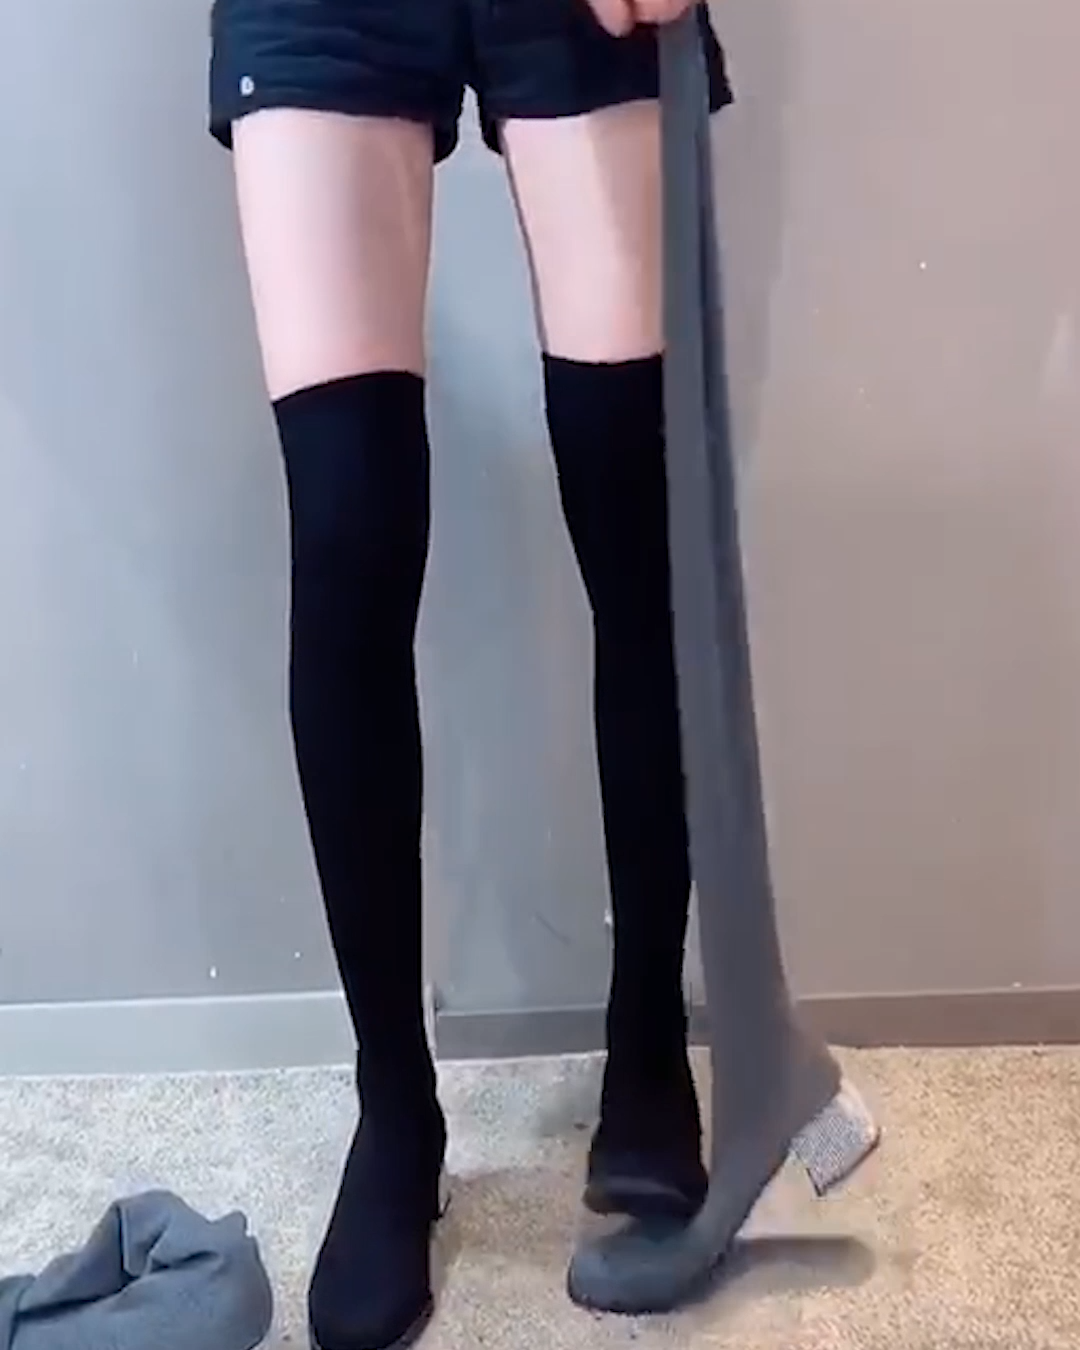
DIY Garter | Bow Knee High Garter

via: www.youtube.com
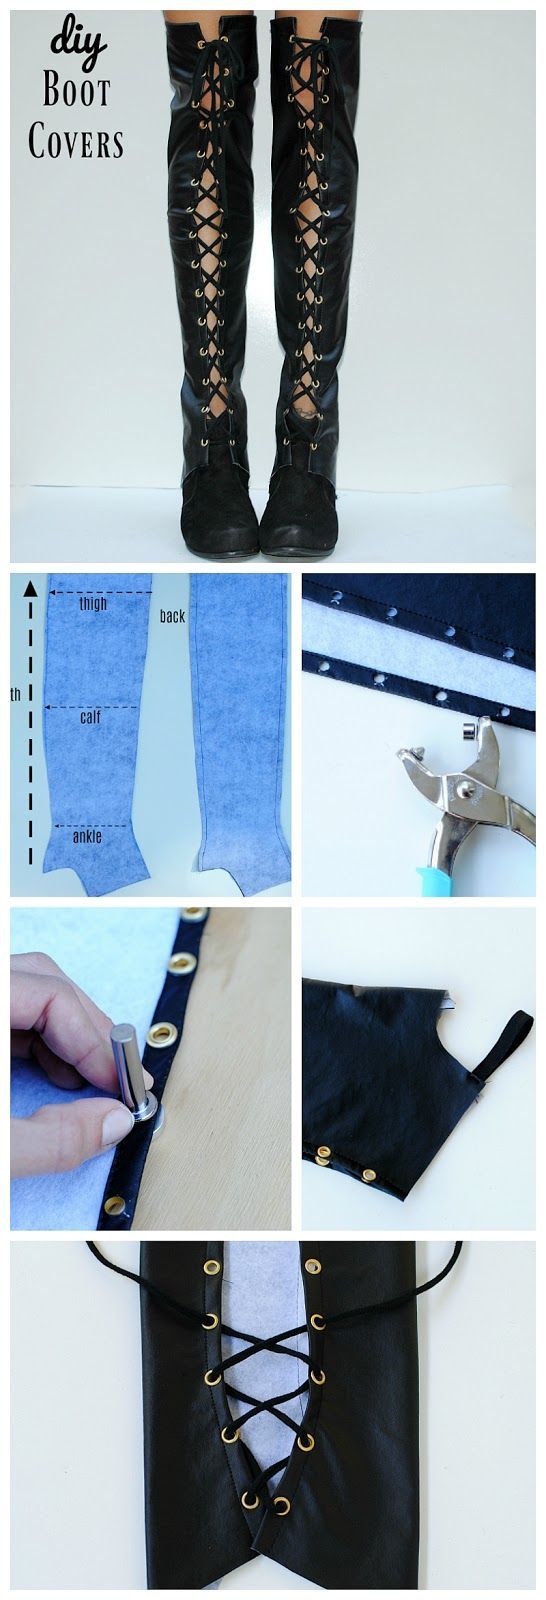
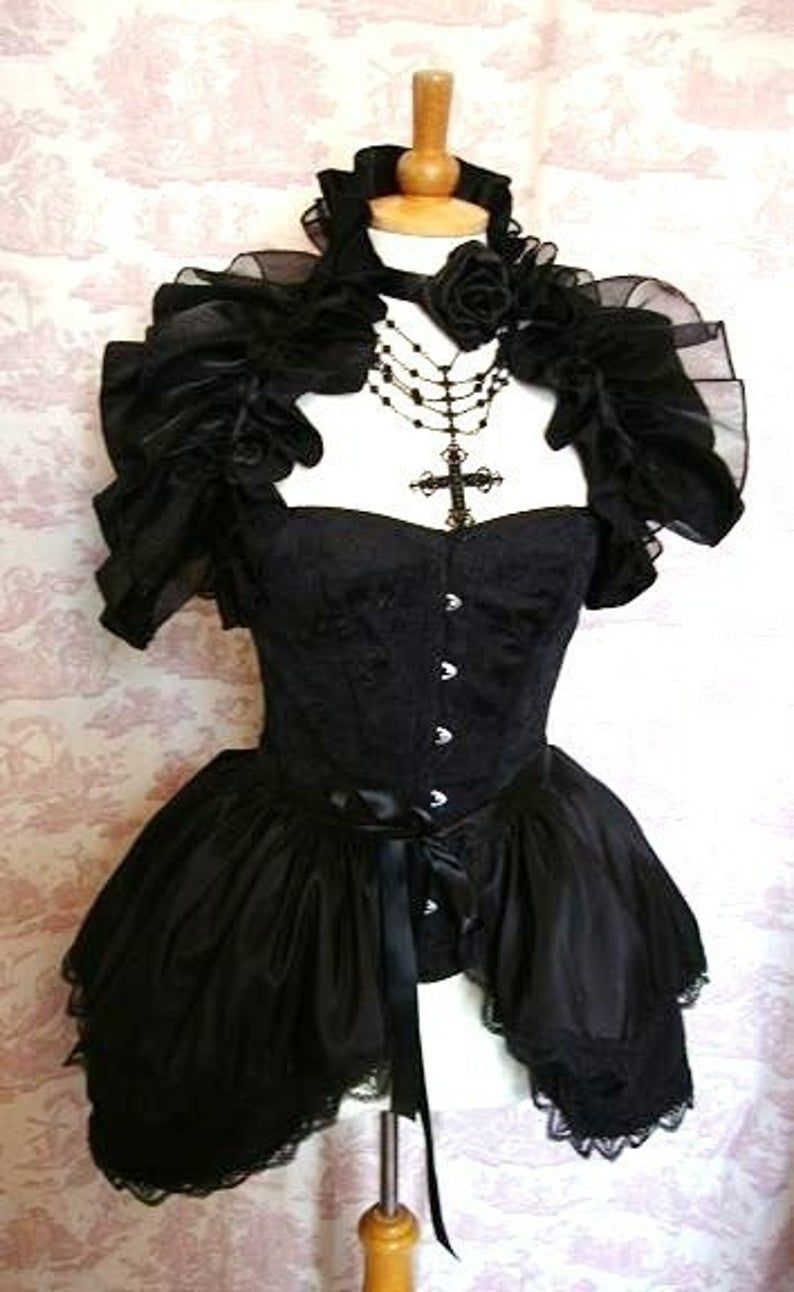
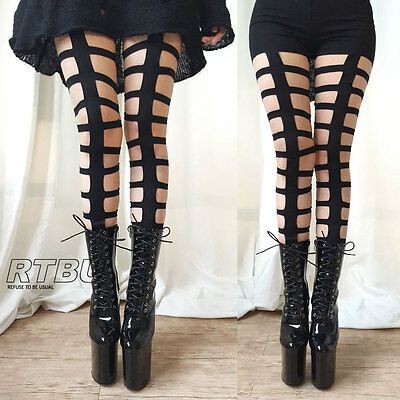
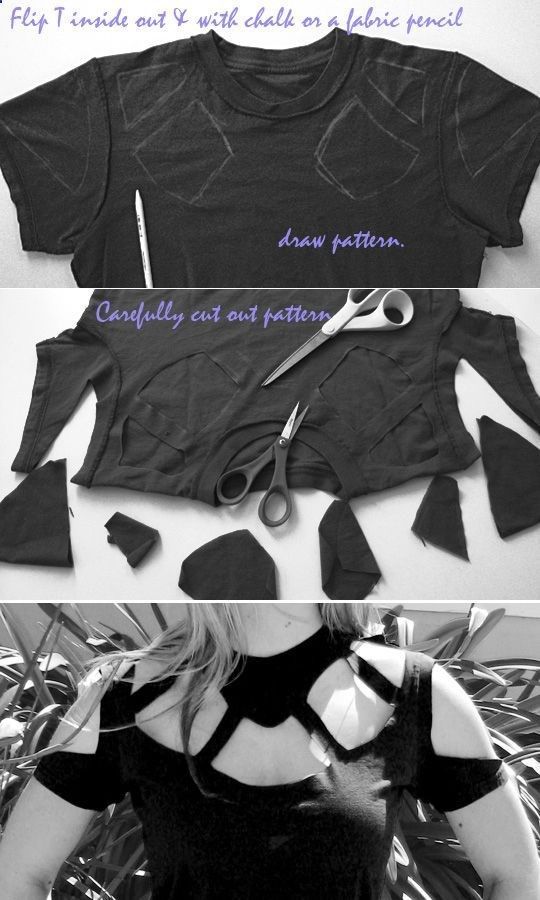
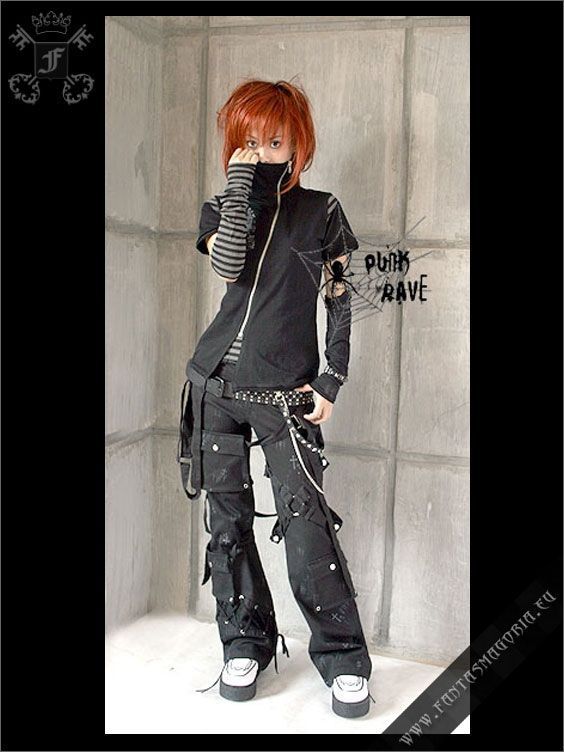
I love simple base pieces for Halloween or Cosplay that are versatile to wear for all types of costumes (and also as real clothing). Just simply change up the fabric, colors, and accessories and you can be just about anything with this simple cloak gown. The over the knee boot covers are something I’ve been wanting to make for a long time. Of course I had to go dramatic and add the lace-up eyelet details. You can again make these in all types of fabrics to match your costume or style. Dritz has all the right supplies and products to make your dream Halloween costume come true. Check out the tutorials below to make your own boot covers and cloak gown. Supplies: Dritz 2-Part Eyelet Tools Dritz 2-Part Eyelets (the higher the boot the more you need, I used 4 packs) Dritz Pliers Dritz 1/2″ elastic 1 yard vinyl fabric hammer 2-4 yards of cording DIY Instructions: Create a pattern like the photo above. Start with a rectangle as a template and add the curve for the boot heel and a slant for the top of the boot. Then use your measurements and create the the rest. Just be sure to add a 1″ to 1 1/2″ seam allowance. Place the front and back pieces right sides together and sew the back part of the boot cover. If you don’t want eyelets, sew the front part as well. Then just add the elastic a few steps down. For the eyelets in the front. Fold the front edges over 1/2″. Top stitch along the raw edge. Mark 1.5″ dots along the hem of one side. You will want to make sure you have an odd number of marks. I did 15 and the eyelet kits come with 15. Fold the front pieces together and mark along the other side so they match. Use the Dritz pliers to cut holes over the marks. Full video here. Use the 2-Part Tools and 2-Part Eyelets and hammer away. Full instructions here and video here. Hem the top and bottom edges. Pin the elastic as shown in the photo. Sew a zig zag stitch to secure along the edge. Lace up with 2 yards of cording starting at the bottom and tie at the top. Repeat for the other boot cover. Even try them short with heels. Supplies: 2 yards knit fabric (preferably with 4-way stretch and 60″ wide) Tab Closure with Snap Fold your fabric in half as shown in the illustration above. Mark 8″ from the fold and 10″ from the selvage and cut through both layers 6″ down. These are your arm holes. Then I used the tab closure with snap to hold the middle together (this is optional). You will want to try it on to see where you want to place the closures so it fits properly. I sewed the tabs on just like I did here. I attached these skeleton hands I had in my stash for a “Halloween” look. If you don’t want a closure you can simply tie it in the back and it’s the perfect wrap dress. No need to finish the edges as it’s knit. I did intentionally make sure the selvage was along the front so you have a naturally finished edge to begin with. I love this look. All I need to do is add my skeleton crown and a choker and I’m the Queen of Halloween. Try this in other fabrics to meet your cosplay style: a white satin for a Greek Goddess or Angel, a red taffeta for a vampire…this list goes on. *In collaboration with Dritz. I received compensation from Dritz®, and some of the materials featured here or used in this project were provided free of charge by Dritz®. All opinions are my own. SaveSave