Cute Teddy Bear – FREE Crochet Pattern / Tutorial
Shaping the head:
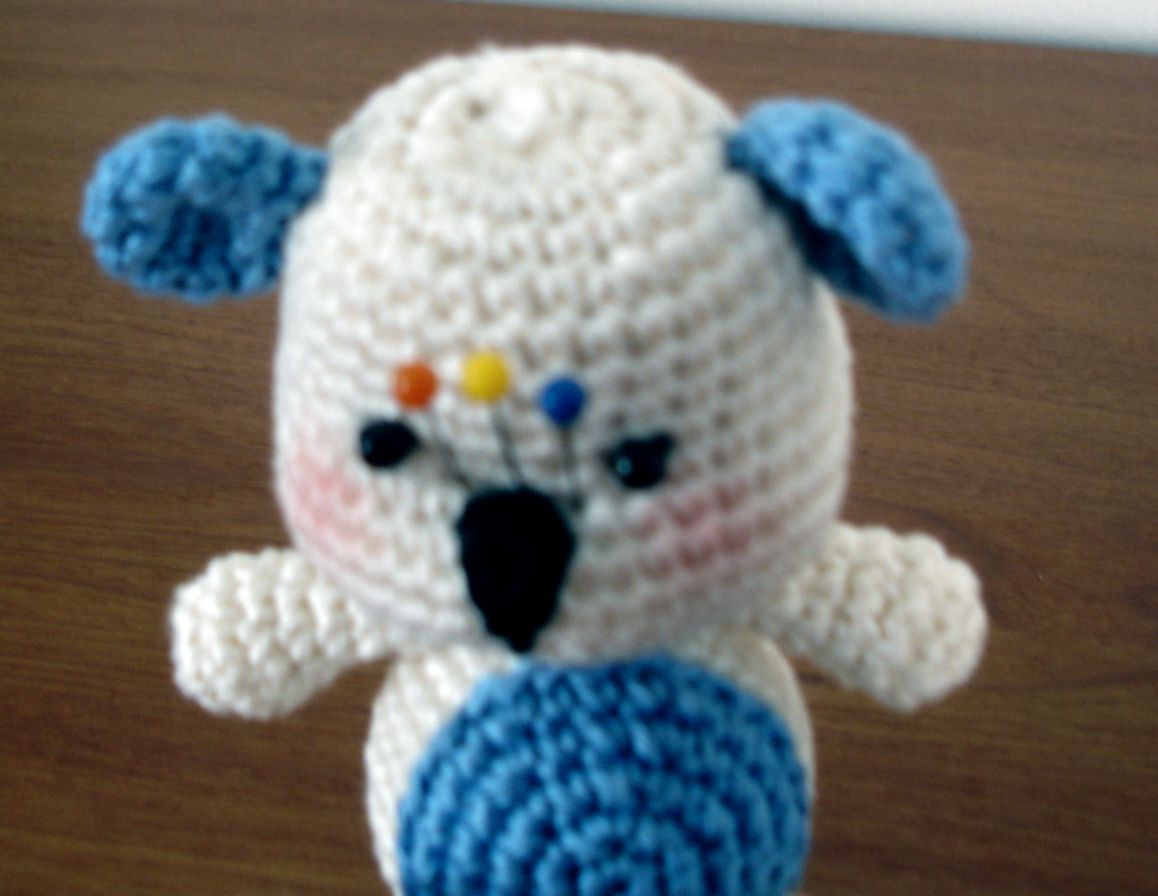
Take the bears head in your hands. By now should be well stuffed and nicely firm. As you can see, there are 6 peaks around the bottom part of the head (where we started to decrease). Pick one of these peaks. On R12 that we have marked earlier at one of these peaks mark 3 stitches using safety pins.
What you will do now, is wave the yarn with the needle through these three stitches (from the bottom of the head opening, through the head, through the stitch out, into the second stitch, through the head to the bottom, pull, through the head up to the next stitch …repeat for each stitch).

To make few hairs on top of the head, when done shaping the head, pull the needle through the head to the top. Sew few lops (as if making the tassel-1-2 are enough). Finish off pulling the needle through the head, towards the bottom, cut and hide ends in the stuffing.
When done with this waving and sewing, you will get this pointing nose looking shape, when looking from the side.

Assembling the parts together:
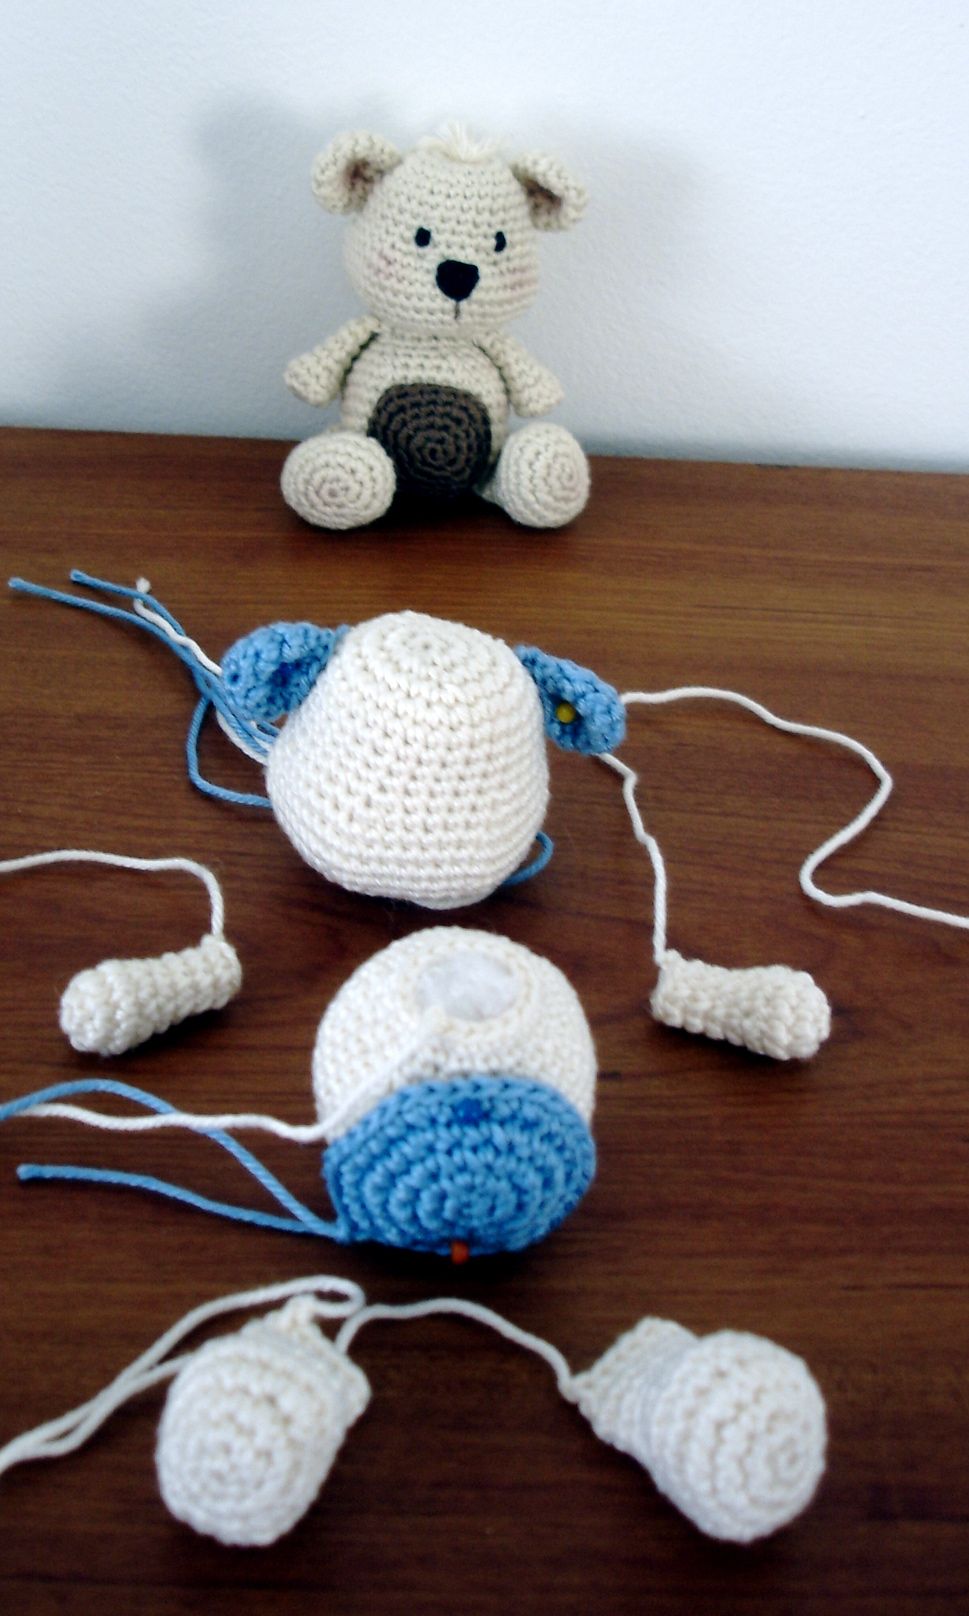
Sew body and the head together through 18 stitches on each side.
Arms will go on sides of the body
Sew the legs in between the row5 and 6. Center them, leaving 2 stitches in between them.
Tail will go on the back of the body, right after row 5.
Place the ears on the sides of the head, starting row 4 downwards.
Place the belly and sew it all around to fin nicely on the center of the body’s front.
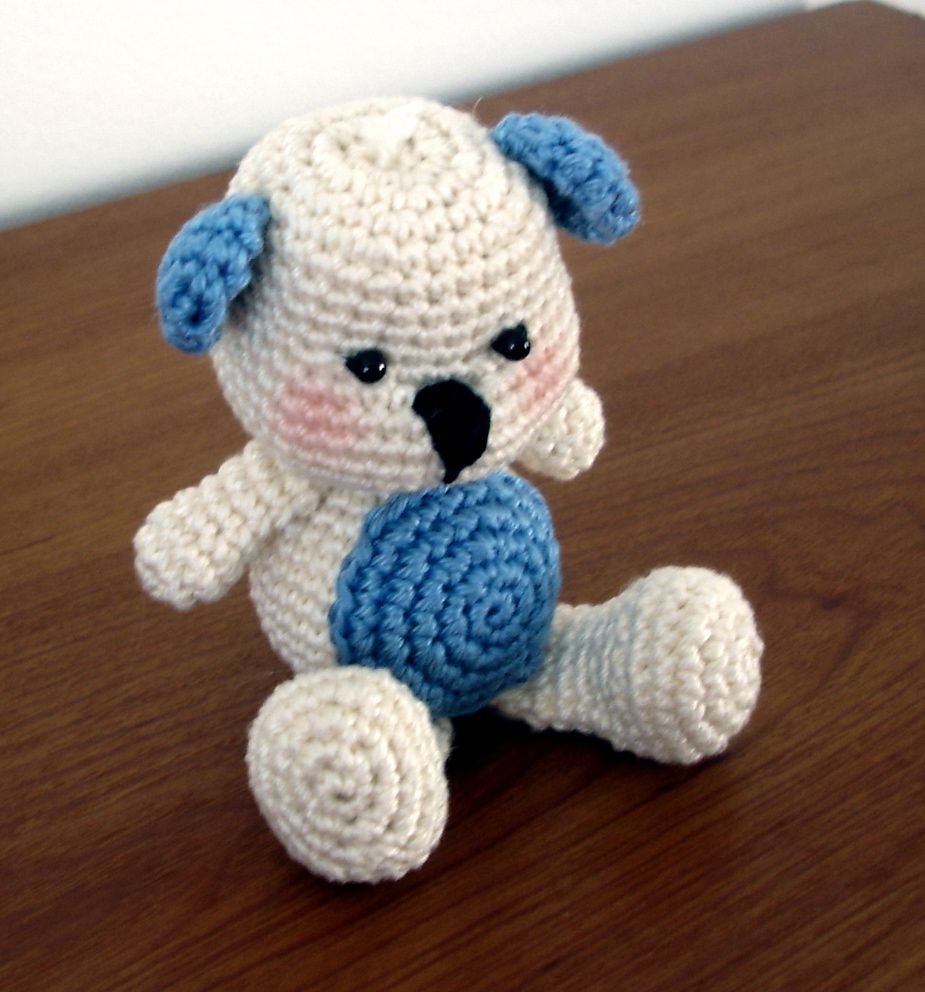
And your TeddyEddy is done.

You can get free patterns on next page!