12 cake Drip baking ideas
How To Create A Sprinkle Drip Cake

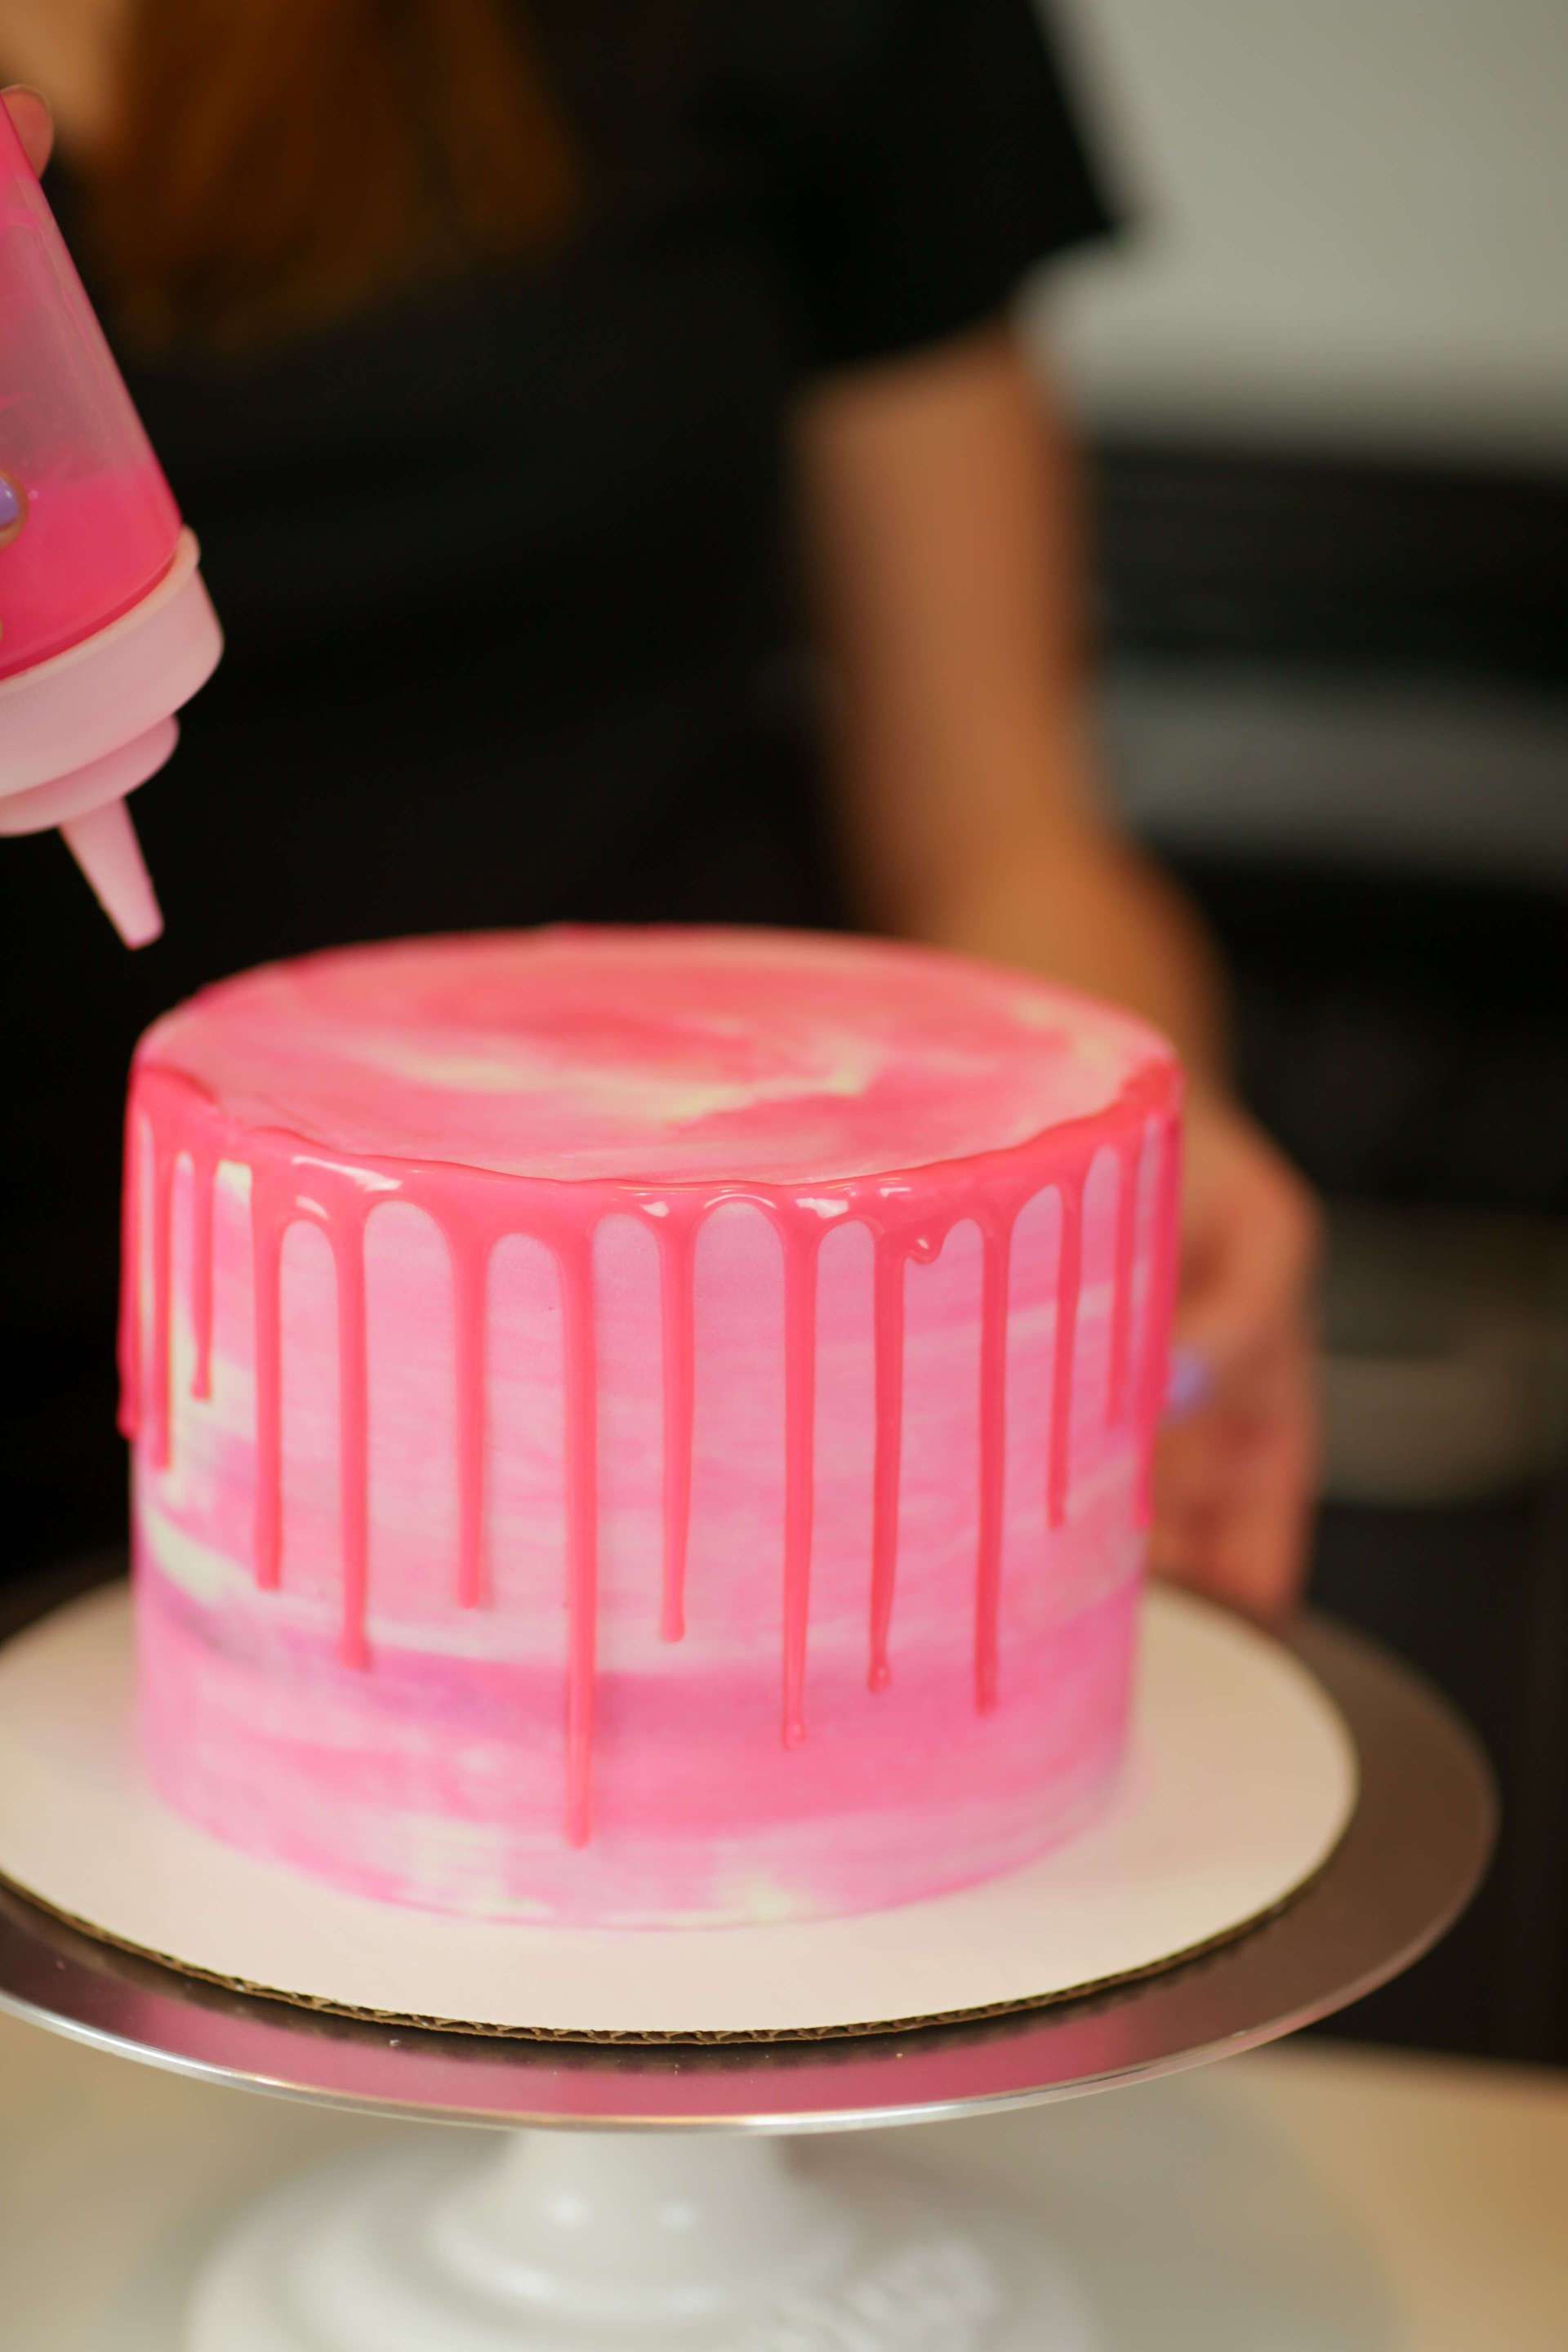
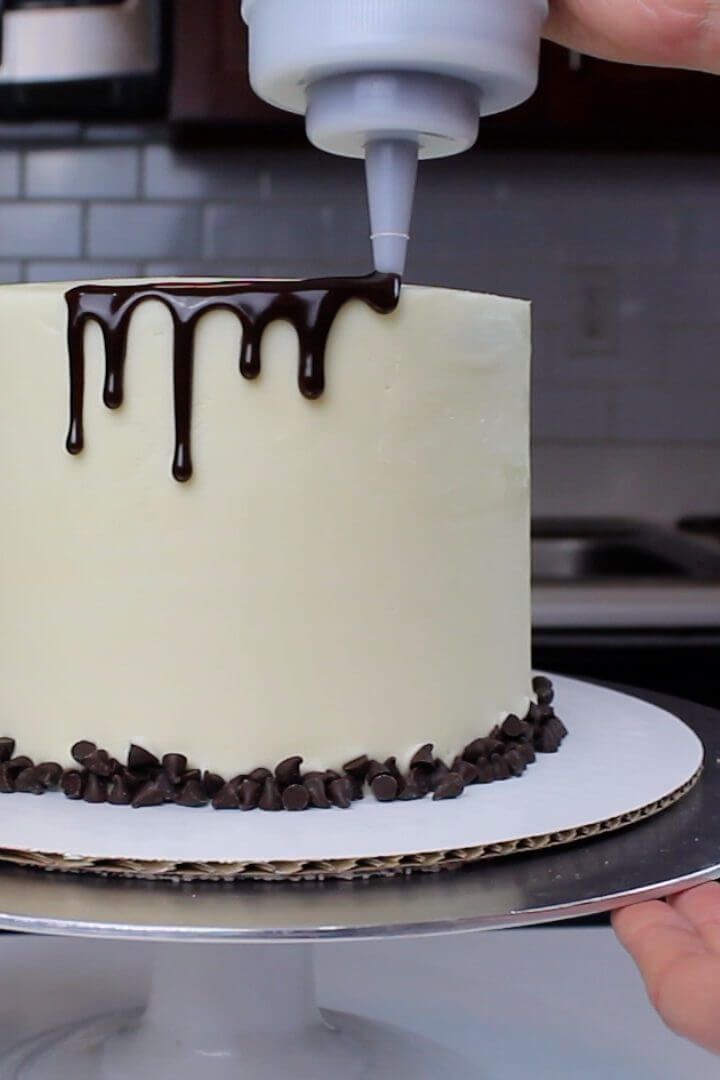
Pink Sprinkle Drip Cake There are drip cakes, and then there are sprinkle drip cakes. And let me tell you, while both are pretty to look at, the sprinkle version is so much more fun! The sprinkle drip cake trend was popularized by one of my favorite cakers to follow on Instagram, @brittanymaycakes. To my knowledge, she’s the little genius behind putting sprinkles on top of a ganache drip, and I just had to give it a go because it looks so stunning – especially with this Bewitched sprinkle mix by Sprinkle Pop. While any sprinkle mix will do for creating a sprinkle drip cake, I was really drawn to the vibrant color scheme of Bewitched. It’s a magical blend of pink, purple, teal, and yellow jimmies and spheres, plus gold and silver dragees to give it some extra bling. I decided to color the buttercream backdrop a deep fuschia (using Americolor Soft Gel Paste Food Color in Fuschia) to really compliment all of the sprinkle colors, but they’d look pretty on all sorts of buttercream hues. Just look at how pretty they are: The essentials you’ll need for this look are a good pair of tweezers, the perfect sprinkle mix, and a great chocolate ganache recipe. I’ve got the perfect chocolate ganache recipe and white chocolate ganache recipe at the links below, with all the tips you need for successful drips. The tweezers make it easier to perfectly place the sprinkles (as opposed to using your fingers). And it’ll look incredible with any of Sprinkle Pop’s gorgeous sprinkle mixes! Just pick your favorite and follow along the tutorial below: You Will Need: A chilled buttercream cake 1 batch of chocolate ganache or white chocolate ganache 8 oz bottle of Bewitched sprinkles (or other favorite Sprinkle Pop mix) Tweezers Step 1: Do A Test Drip Before you get too crazy dripping your ganache, I always think it’s a great idea to do a test drip on your chilled buttercream cake. Make sure your ganache is room temperature and good drip consistency first, create one drip on the side of your cake, and wait until it stops traveling. If your ganache is too runny or warm, it will travel all the way to the bottom of the cake quickly. If it’s too cold and thick, it won’t travel much at all. Adjust the consistency and temperature of your ganache if need be, and only continue the process of dripping your cake once you’re satisfied with the look of the drips. Step 2: Drip The Sides Of The Cake Once your ganache has passed the first drip test, continue dripping your ganache down the sides using either a squeeze bottle or the spoon method. It’s best to start by dripping every side before moving on to the top of the cake. This way you can better control the look of the drips from the side view and only fill what’s necessary on the top. Step 3: Place The Sprinkles Let the ganache rest in the refrigerator for about five minutes while you pour the sprinkles into a small bowl. After refrigerating for just those few minutes, the ganache drips should be sticky, but set enough to ensure that adding sprinkles won’t drag them down. Using your tweezers, place the sprinkles onto the ganache one by one until you achieve the look you’re going for. This could take anywhere from 20-30 minutes, depending on how precise you want to be, but trust me. It’s so worth it! Step 4: Keep On Decorating While you can stop after you’ve created your sprinkle drip, I believe that when it comes to SprinklePop sprinkles, more is more! Before I dripped the cake, I added a border of Bewitched sprinkles to the bottom edge, and after creating the sprinkle drip I added a buttercream border to the top of this cake using Wilton Tip 6B, then filled in the entire top of the cake with even more sprinkles. So fun! Ready to create your very own sprinkle drip cake? Just grab a bottle of your favorite Sprinkle Pop sprinkles and let the fun begin! Sweet Wishes,